Train Table
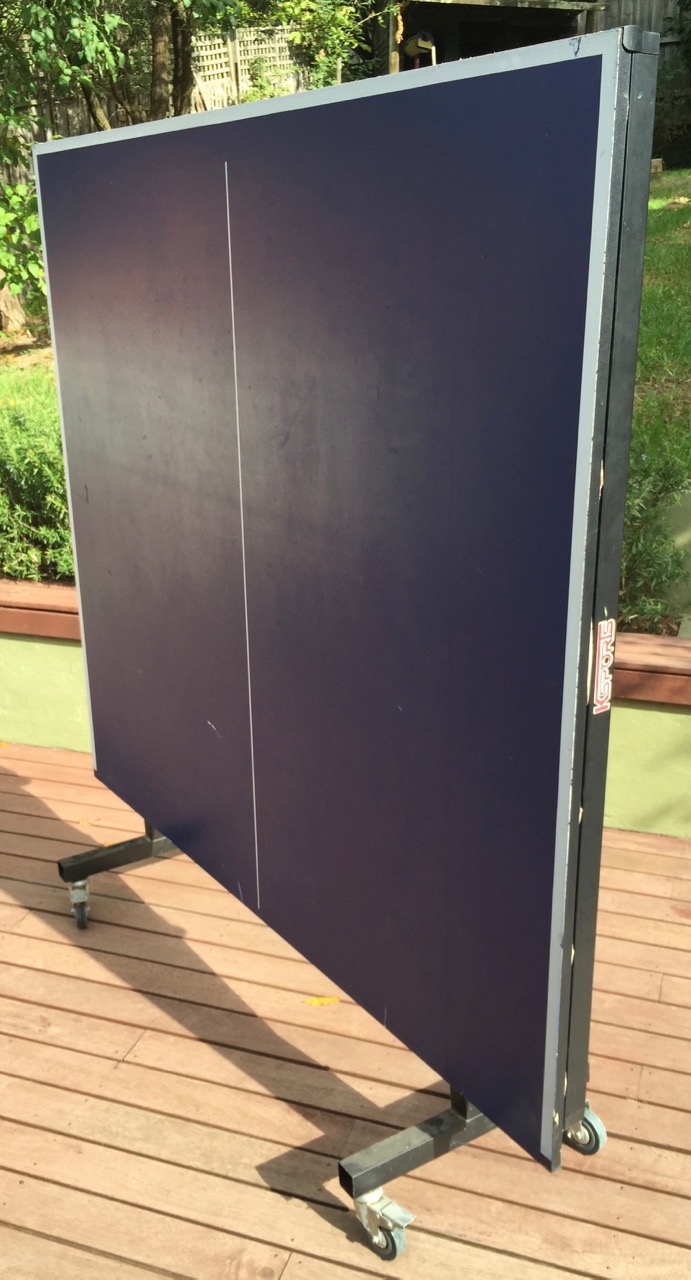
Out with the dog we walked past a council rubbish collection and someone had put out a table tennis table! I gave in, pushed it home on the handy wheels and the kids played about three games of table tennis, then forgot about it. No good to use as intended, water damaged surface.
Months later in Sydney we found HobbyCo in the amazing Queen Victoria Building. I've been thinking about model trains for years, since seeing one of these...
(That was on a trip to the Goldfields Railway, in a little shop in Maldon, Victoria. Is it a good thing I didn't buy that one or not? By all accounts they had their problems and are now discontinued but I expect they will be a real collector's item one day.)
So I looked at all the trains, $800 for a big set and decided it was far too much money... but then I found them for around half the price from Hatton's.
And a week later had a Hornby R1125 Somerset Belle Set and plenty of expansion track. It was hard choosing which set to start with but it came down to wanting DCC but definitely not wanting eLink. I don't know who would want to have to open a computer to make a model train run, and eLink is Windows only. That ruled out the "The Majestic" and "Western Master" sets, and Hatton's had the "Somerset Belle" at a big discount. I don't have an era or theme to follow and if I ever do there will still be a need for a loco anyone can play with, so the packaged train didn't matter much.
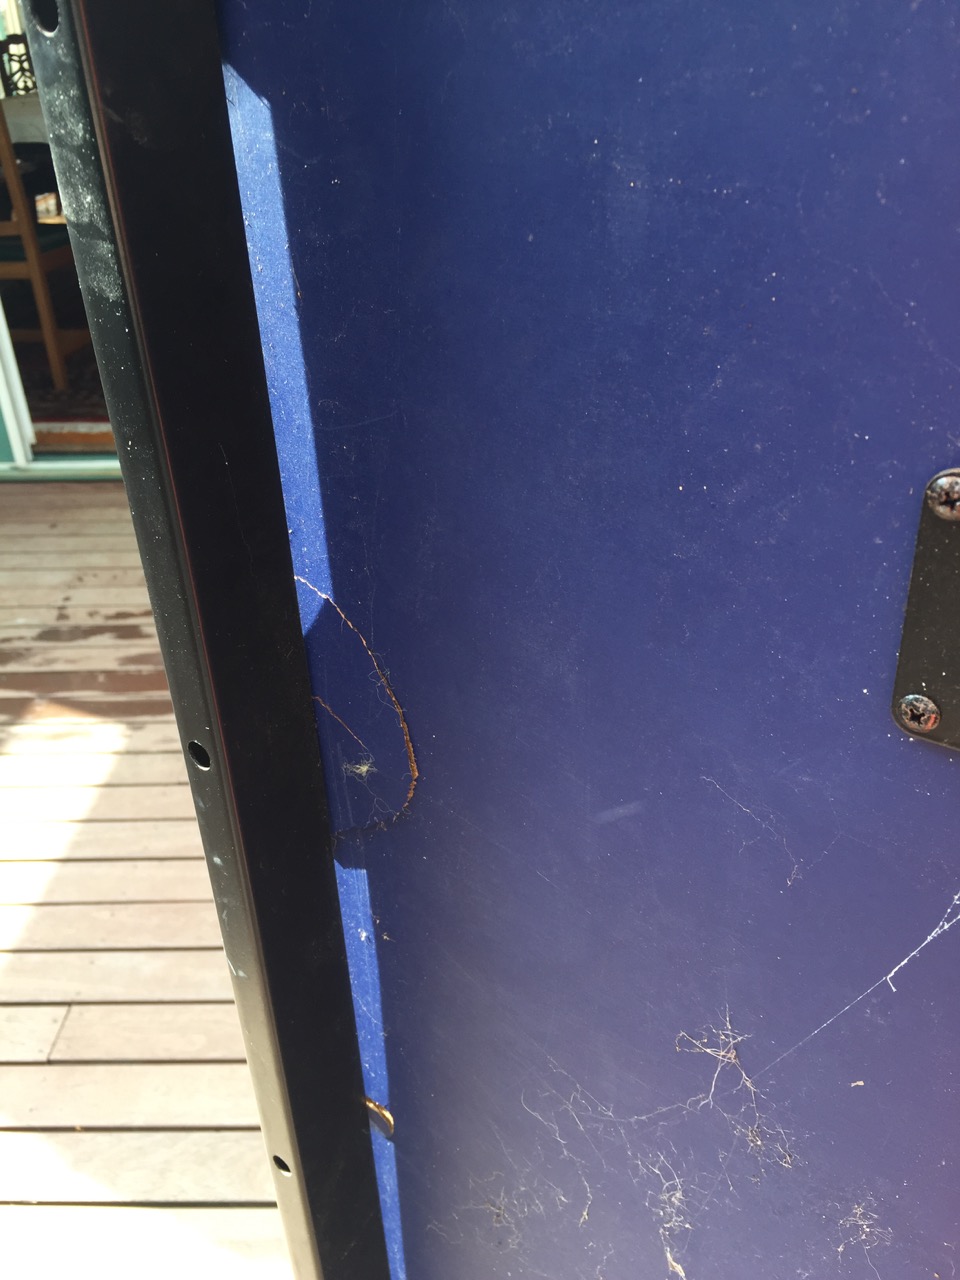
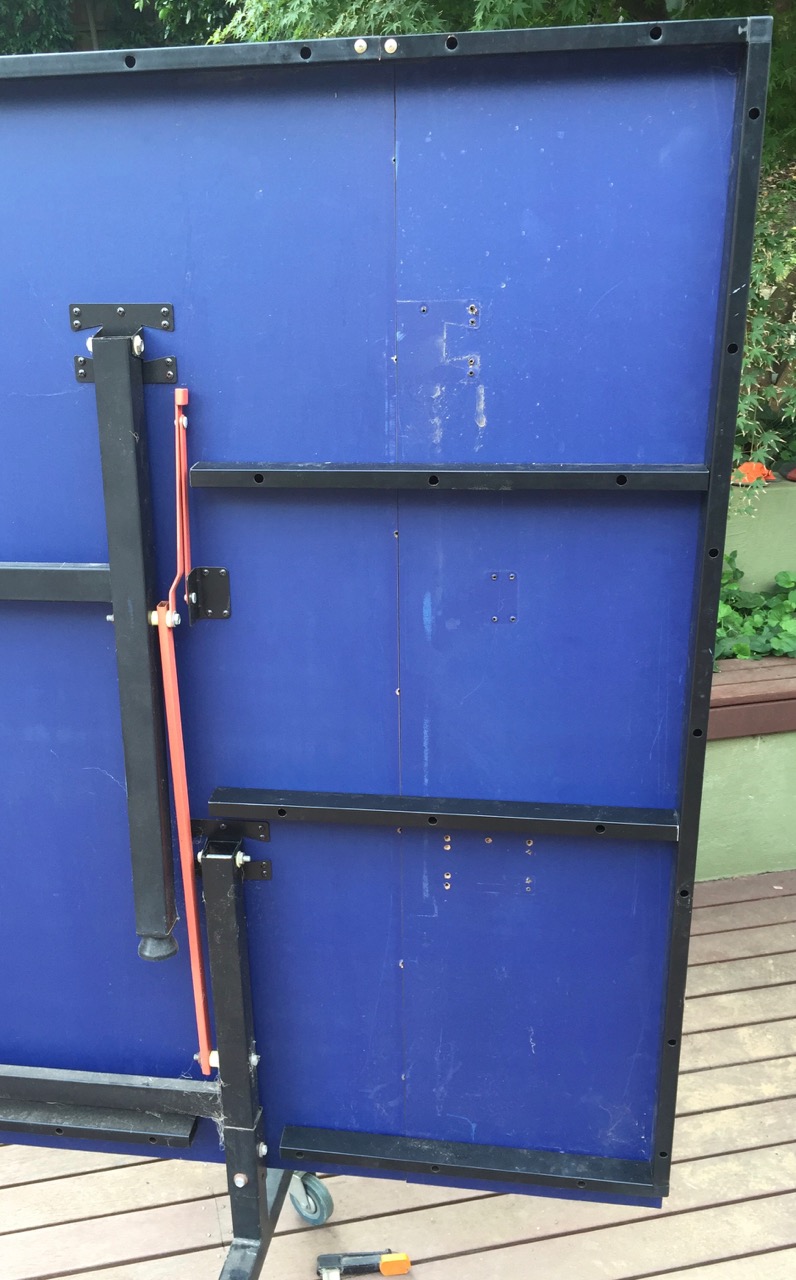
So it was obvious what to do with the disused table. Except that it's just a little too narrow for the Hornby TrakMat, so I set about using the better of the two surfaces to extend the first. We don't have a heap of room so having it tip up and store vertically will be very useful. A shame to wreck a good table? Not this one. It was thrown out in the first place because the MDF is in very bad condition, pulling away from the mounting screws on one side and bubbling up with water damage on the top.
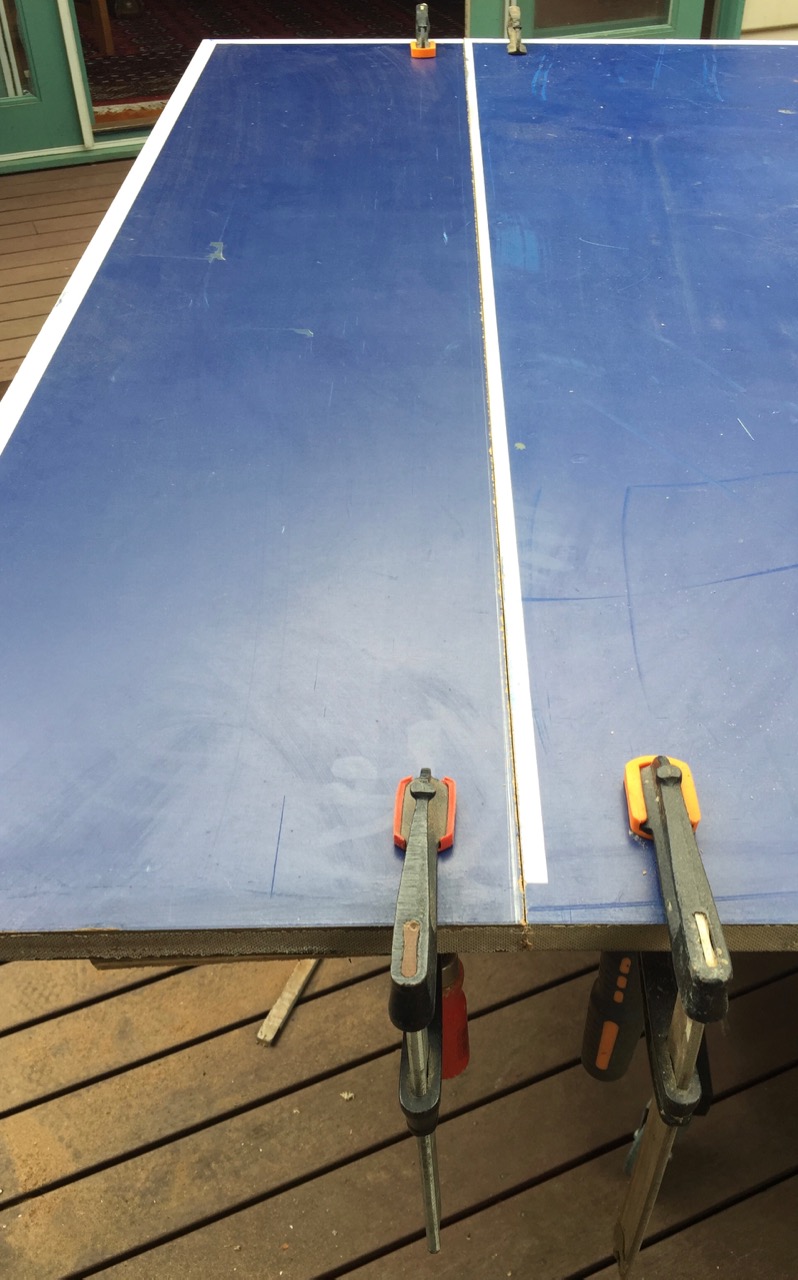
The back of the table is braced with some rectangular section steel and plastic corner pieces. They came off easily and I was able to start cutting. I ripped along the edge of the large piece I wanted to use and then cut a piece from the waste side to make the width up to 1850mm - enough for the full trakmat and a little extra for whatever.
On the back the removed steel pieces made nice bracing for the new section, with short pieces of steel and corners finishing it up nicely. I joined them by making a redgum block to fit inside the steel section as a mating piece and driving a couple of screws in from either side.
Next up a quick pass with the big belt sander. The white blobs reveal where the sander has taken the top off water damage bubbles! While it's nowhere near really flat, it is better. Also I wanted to make sure the satin table finish was nicely scratched up so the new paint could stick to it.
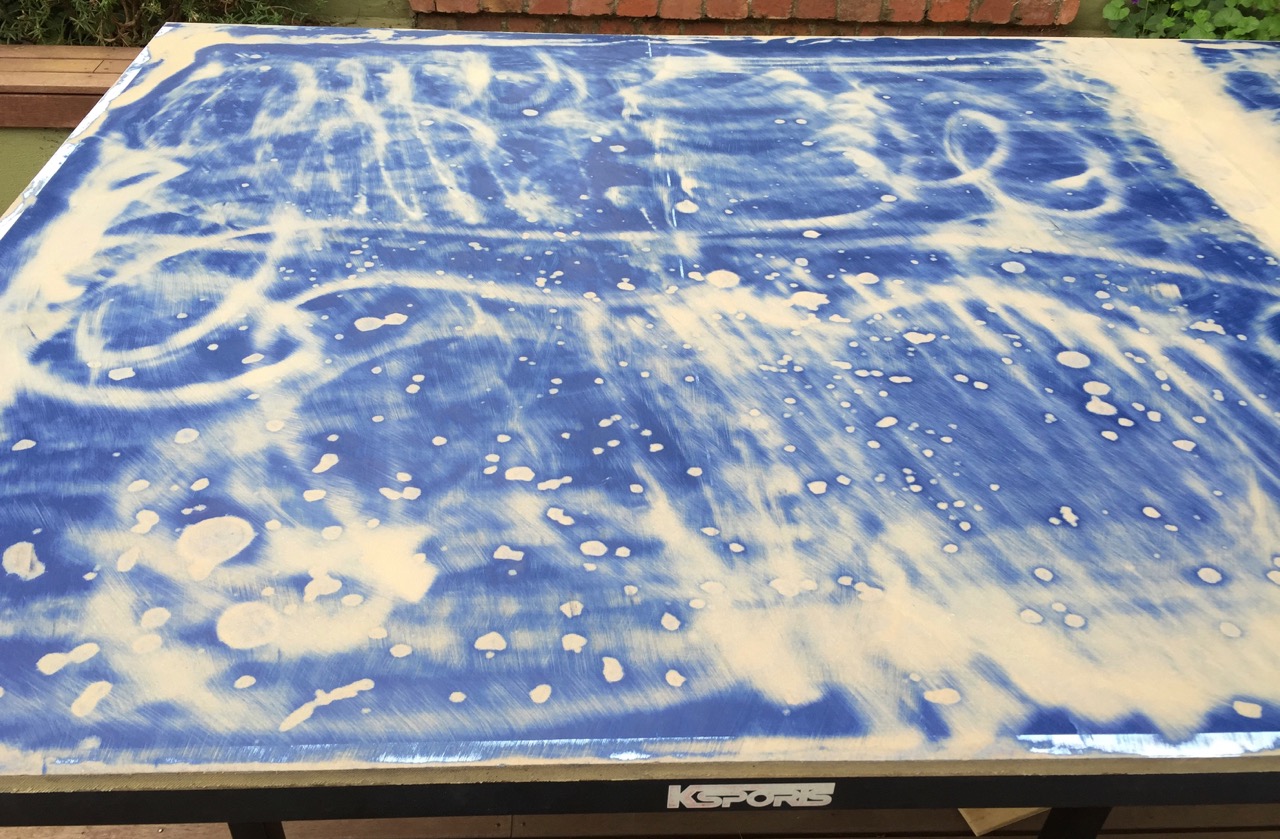
Finally a quick coat of ceiling white, and here it is with the TrakMat in place to see how it fits. For a quick job I'm happy, and I got it done before the rain.
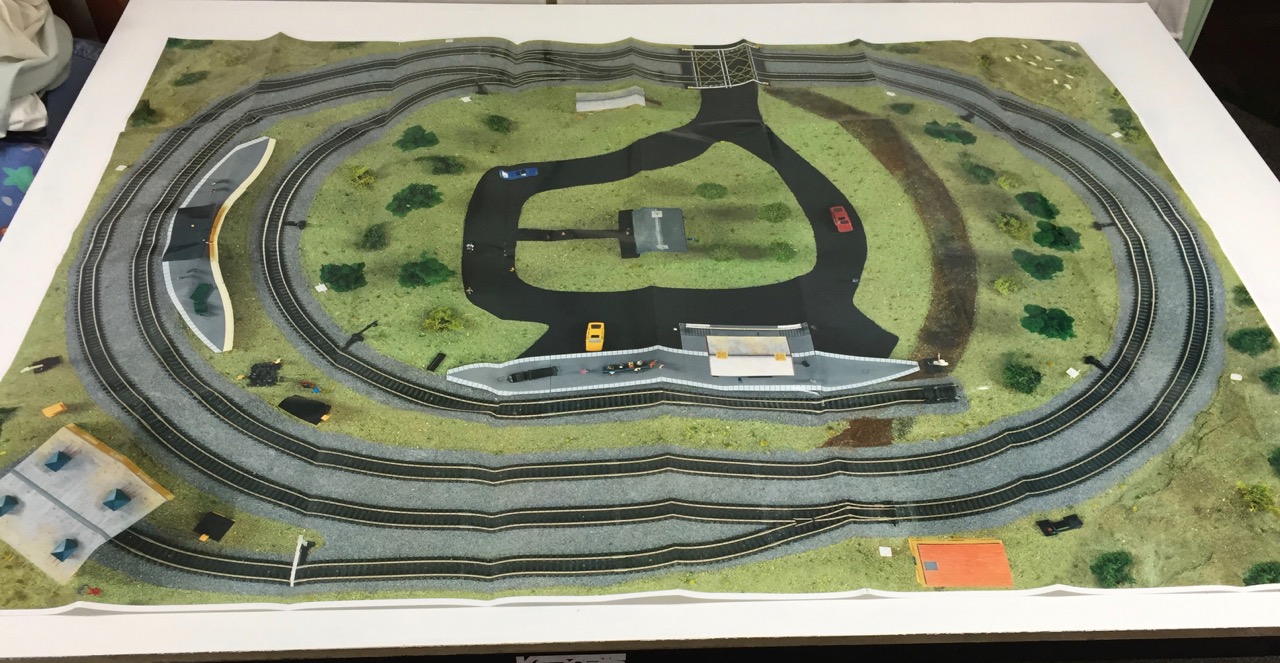
When the paint dried I gave the back of the TrakMat a coat of 3M Photo Mount and went to roll it down. Here's where things went slightly wrong. I was happy with the Speedball roller at first but it is not well designed. The frame is very soft metal and any downward pressure means the arms spread and the pin holding the roller in pops right out. Looks like an ideal tool for removing air bubbles when block mounting - is actually no good at all if you want to push hard. Probably a narrower one would hold up better, as would the frame of the Hard Rubber Brayer, also made by Speedball - it uses a rod steel frame rather than flat bar so it probably wouldn't collapse under pressure.
Anyway the mat is now stuck down - ready to build a train set.