Amiga 1200 Keyboard, part 4
Keyboard considerations.
(This isn't a cooking show but you're going to see pictures of a rev 1 keyboard PCB here to illustrate some of the things I want to talk about. So here's one I prepared earlier.)
Although this is the fourth step it was always the gateway part of the project. The cost and difficulty of making a PCB has come down dramatically, largely due to Chinese manufacturing with local presence. How much would you expect a two-layer PCB of around .06m² to cost? Around $40, shipped in a week, in one-off quantities and that only gets cheaper if you scale up.
Around the time I was ready to make the PCB I discovered I'm not the only one. A Canadian that goes by Kipper2K on various Amiga forums is doing one too. He has a record of good Amiga projects and this one is no exception, it looks great. It will be compatible with more models than just the A1200, it will come with custom MX keycaps that are the right size and it's a two-board design (base and place PCBs). Price will be around $200. Any thought I had of doing a kickstarter with my keyboard evaporated when I saw this on the way - if you're after an Amiga mechanical keyboard, and you should be, jump on it. I hope I can get a set of his MX-compatible keycaps!
Connectors
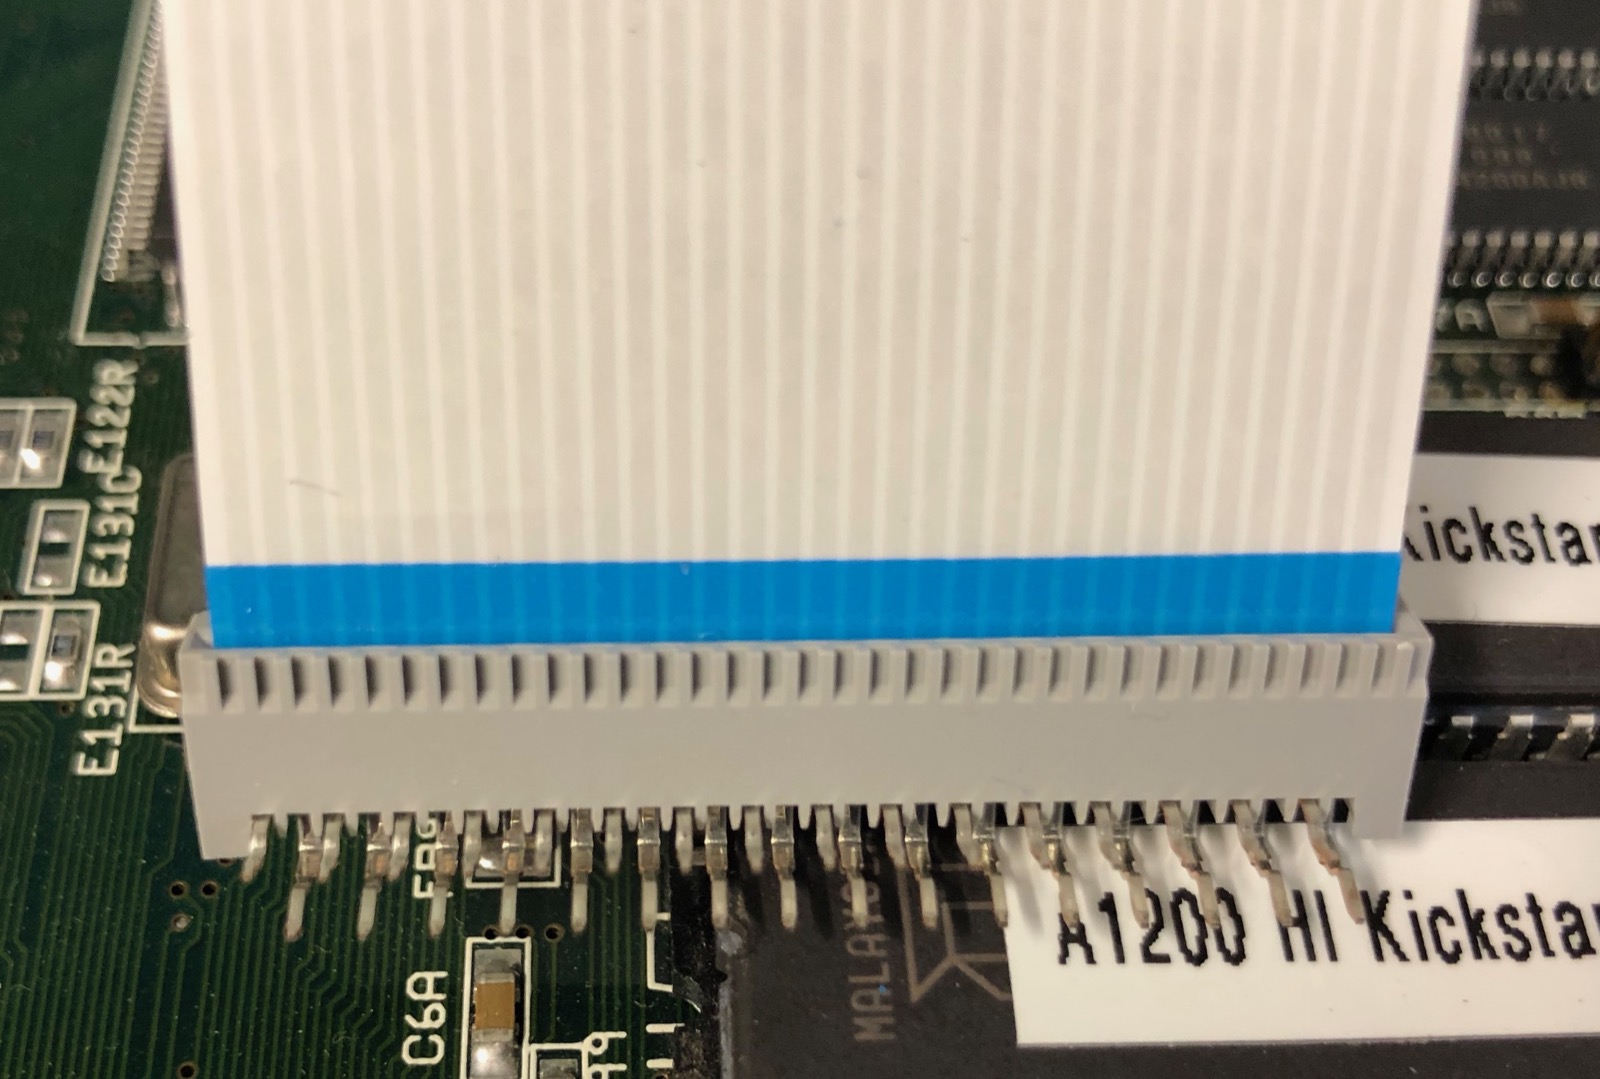
A big concerns was how to connect a new PCB to the Amiga. The original connects via a 31-way FFC ribbon with a 1.25mm contact pitch. Searching on all the big electronics sellers I did not find any of these and for a while considered modifying the Amiga to use a more available connector. But Dave Curran of Tynemouth Software gave me a tip - he uses a 32-way socket in one of his products and just aligns the 31-way ribbon to the correct edge, just as the Amiga 1200 uses ROM sockets that are one row too long. All I would need to do is find a right-angle 32-way FFC socket and FFC cables and problem solved.
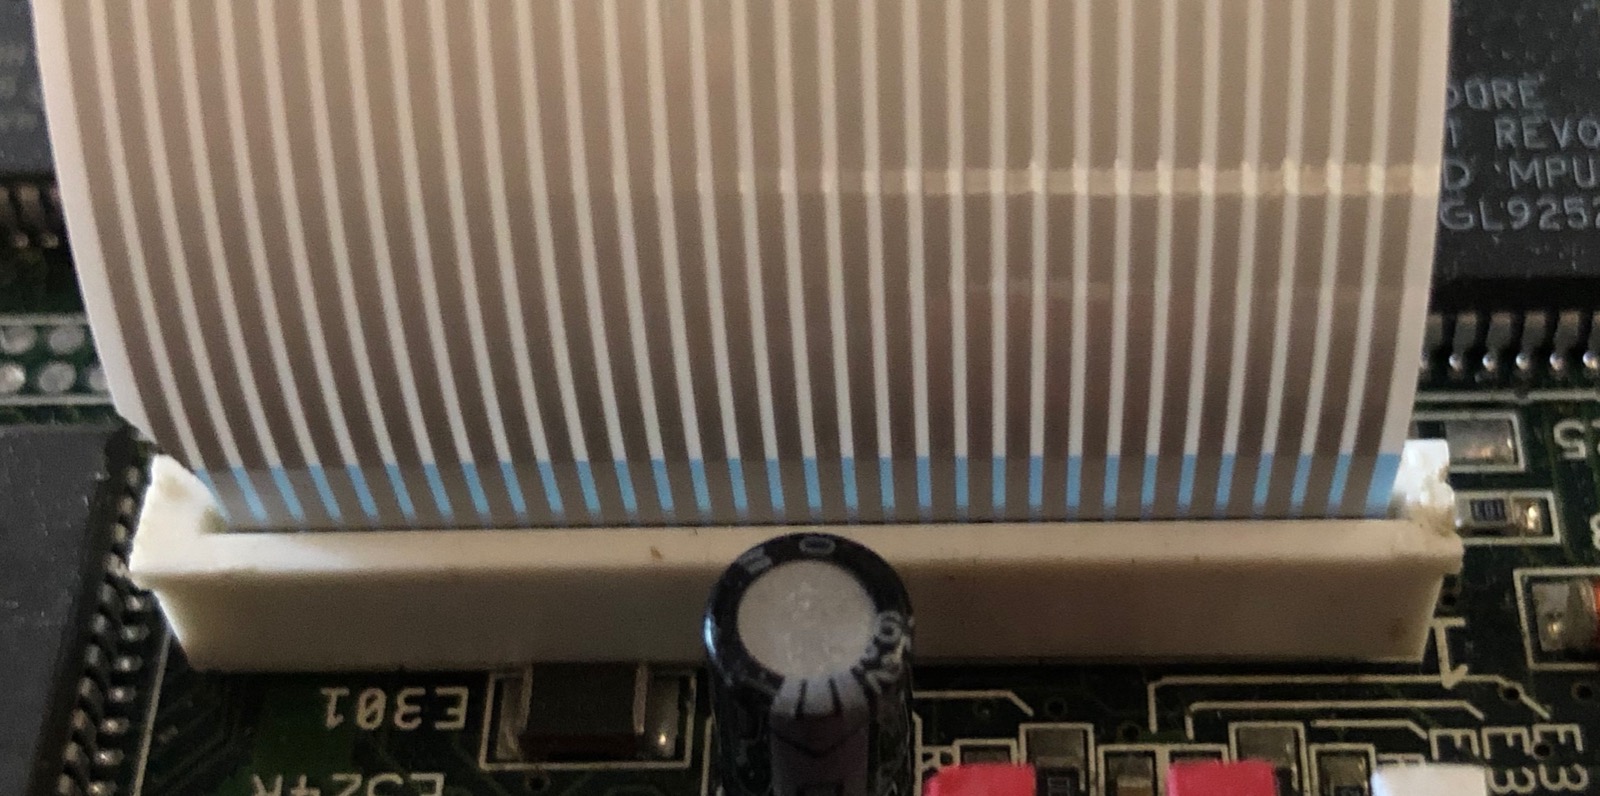
Fortunately there was stock at Mouser. One style of 32-way cable is available, 15cm long, contacts on opposite sides. I bought samples and carefully snipped off one connector and found it fit in the Amiga keyboard connector as well as the original. There is also a right angle connector available though not ZIF - which is OK because this end of the cable can be left in once inserted. However the contacts opposite sides thing means the connector has to mount on the back of the PCB - but that then turns the pin order around so that the order is left to right just as I had drawn it. Apart from the cable being 5cm longer than ideal this couldn't have worked out better!
Switch placement
While I anticipated spending a lot more time getting every individual key in position I only had to measure a few offsets. The fantastic keyboard symbol library from ai03-2725 shows key outline. Once one key in a group is placed accurately all the adjacent keys can be placed just like LEGO. A quick laser print of the overlay layer showed that all the keys lined up with the holes in the top cover with only one reference point measured per group.

Dealing with Amiga-sized keys
Basically - I'm not, yet.
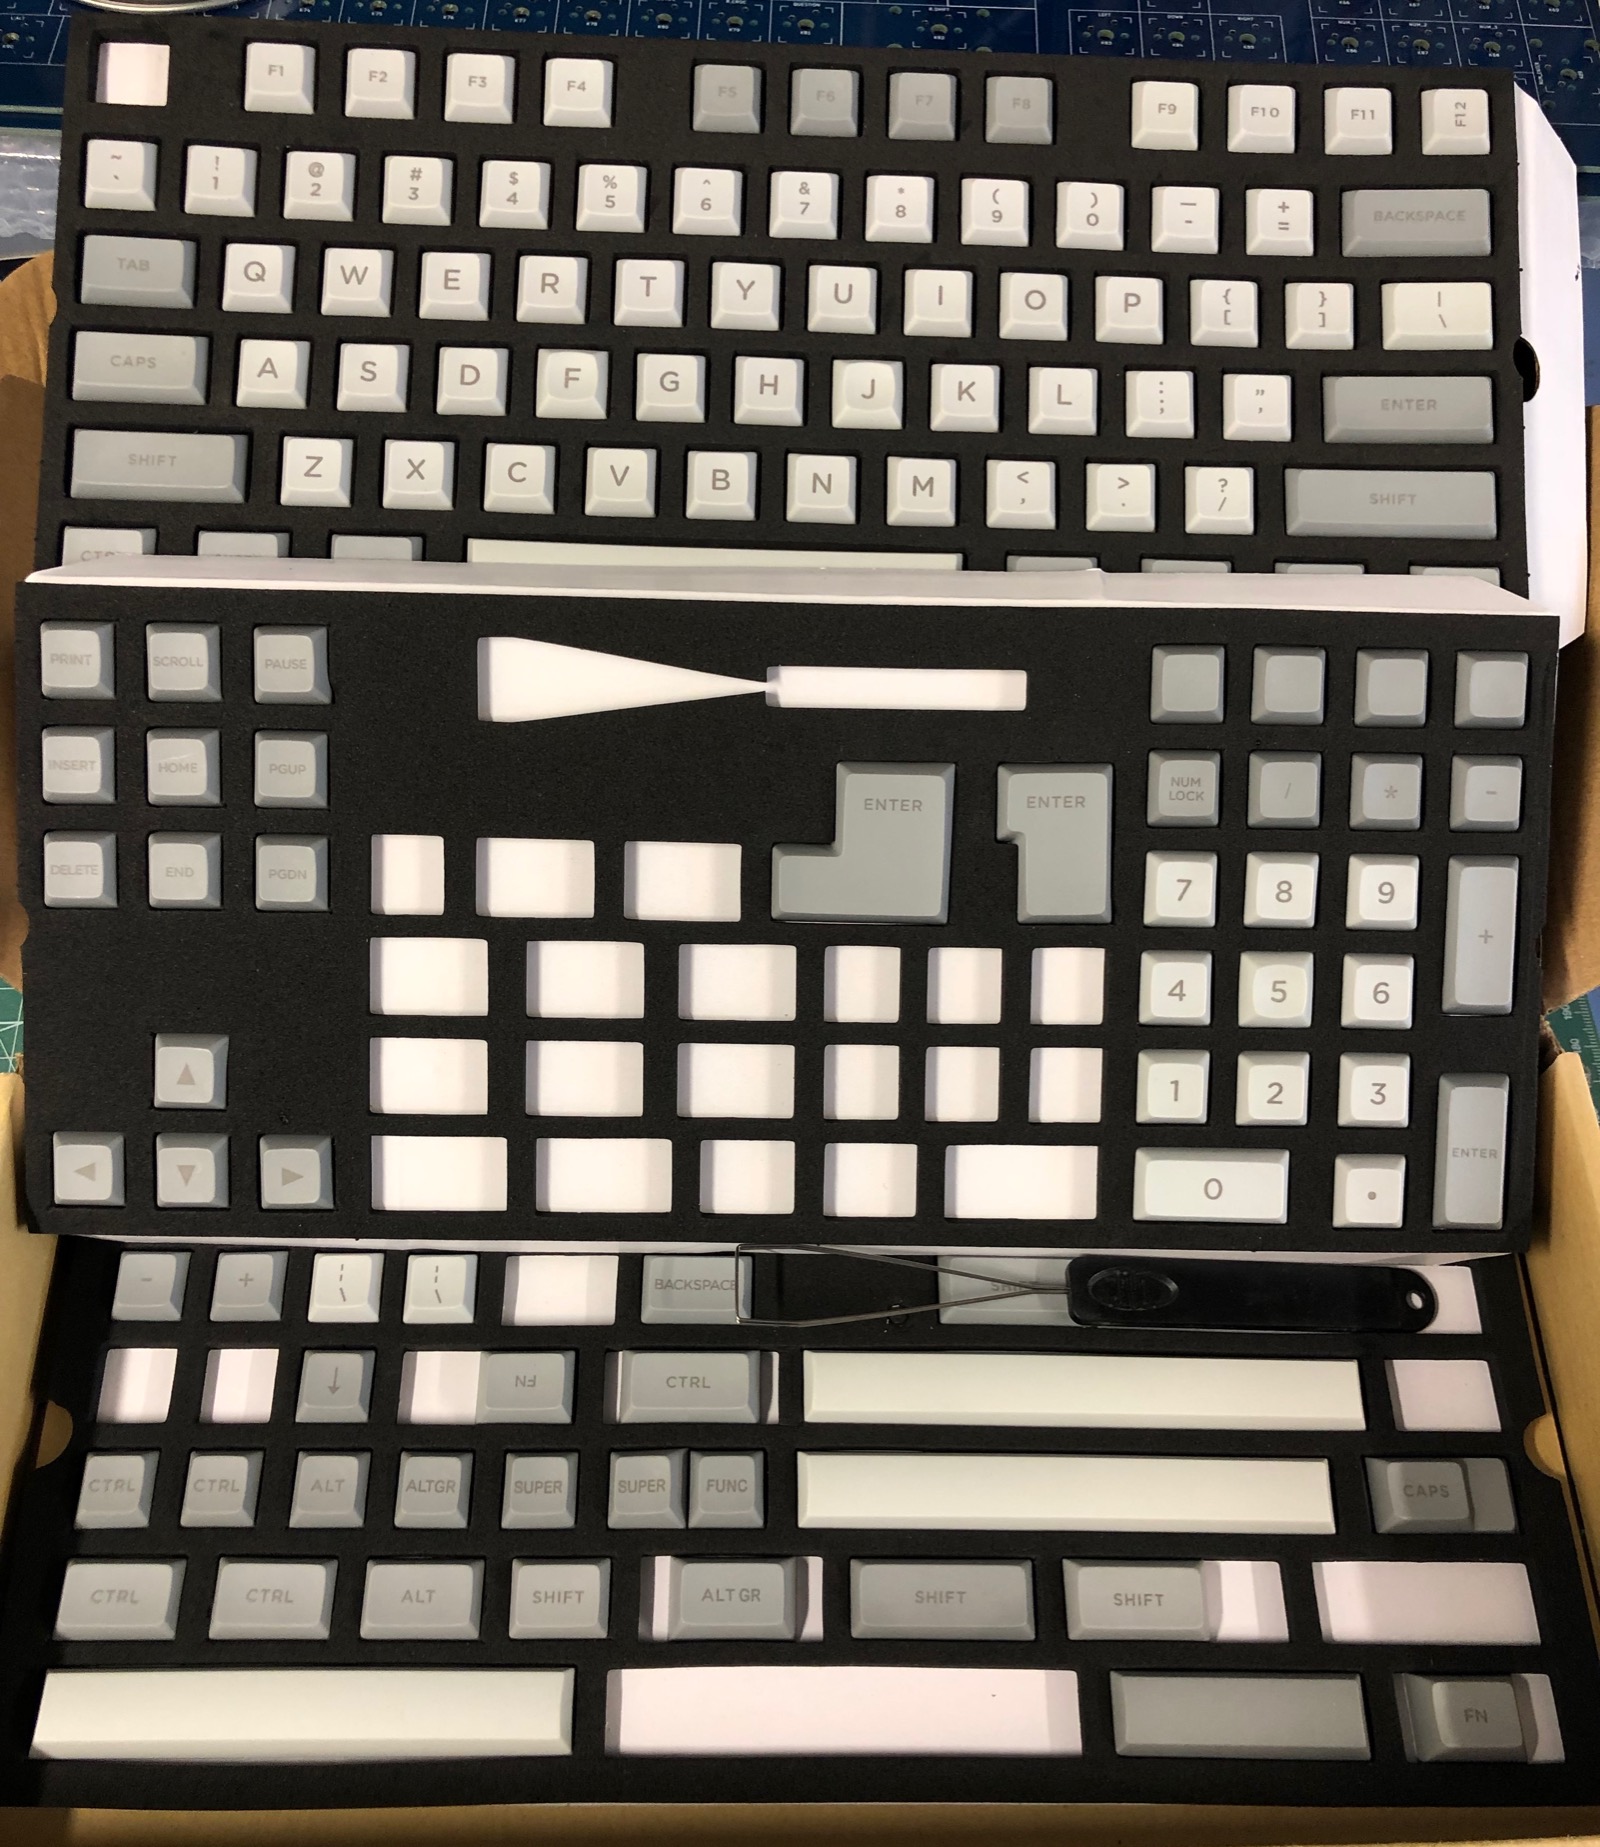
The most obvious problem is that the 9U (nine units of width, where a standard keycap like 'Q' is one) spacebar that Commodore loved so much is not really available. Signature Plastics sell a 9U spacebar in SA profile but I don't really want SA here, it's not a C=64. For now I will use 7U with a 1U space on each side, it will be a little like the IBM Model M with a gap either side of the bar. PCB will be visible in this gap. Oh well. In future I may use a double footprint for the spacebar where the switch is in the same place but the stabilizers are in both 7U and 9U positions. Then either can be loaded depending on what spacebar is available.
Next problem is the 1.25U F-keys. The Amiga has only 10 and so used wider keycaps to space them out better along the top of the keyboard. Initially I will use 1U F-keys because i have them and because it's not much of a gap. An easy fix will be to get some 1.25U blank keycaps. These will fill the spaces and having no legends won't bother me at all on those keys.
Finally the odd-sized modifiers, like "Amiga" and long Shift - fortunately all these are available if not common. I bought a very full set from AliExpress with about 140 caps in it and I will be able to populate the board fully if not perfectly. There are no keys with "Amiga" legends of course.
The real fix for all these issues is to hope I can get my hands on a custom set produced by Kipper2K.
Substrate
The original keyboard has a metal plate supporting the plastic assembly on which springs and sliders move to operate the membrane contacts. It's stiff. I thought about reusing this plate but that would not work for a few reasons. With a PCB and MX switches on top the keyboard would be too high. I would also have to modify an original keyboard and those are a bit scarce.

2mm fibreglass is available from the PCB manufacturer - is it stiff enough to span 420mm and support 90 keys? Almost certainly not, but 150mm would be stiff enough in height. If I was to support the top and bottom edge of the board with aluminium angle it should be OK - this is one of those things where you have to wait and see. I couldn't get a big sheet of FR4 to experiment, not even from the PCB manufacturer, they have nothing local - if you want anything it gets ordered from China. Getting a full run of first revision PCBs made cost about the same as buying blank sheets!
Color
I'm using a translucent Amiga case so color is important. I like blue, with yellow silk screen on top.