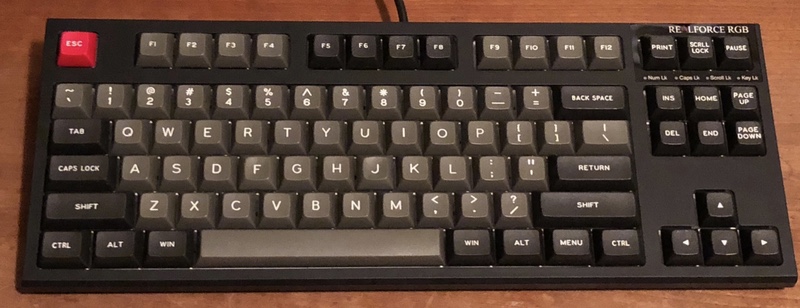
Topre Realforce RGB
Taking the Topre obsession one step further
Obviously, I like keyboards, and having tried out a lot of different MX switches and keycaps Topre was about the only direction left to go. Almost nobody has them in stock to try out and the closest you can come is probably watching YouTube demos - but at least if you don't like it the value doesn't drop much and they sell OK. But I loved the first one I bought A few weeks ago my standard was the 87UW55 - one at home and one in the office.
(The Amiga board is MX of course and I keep one 104-key CODE in the workshop but that's all.)
Then a guy in the office bought a Topre Realforce RGB which I had forgotten was available. And I decided I had to be able to use my Dolch DSA keycaps on a Topre. Worth it? Not really!
It's pretty, but I didn't really want RGB. All I wanted was the ability to use MX keycaps on a keyboard as good as my 87UW55. And out fo the box this is a pretty bad keyboard. It rattles terribly, just feels like a really cheap product from a market somewhere. Fortunately that can be fixed. What follows is how to open and make your Realforce RGB as good as a Topre should.
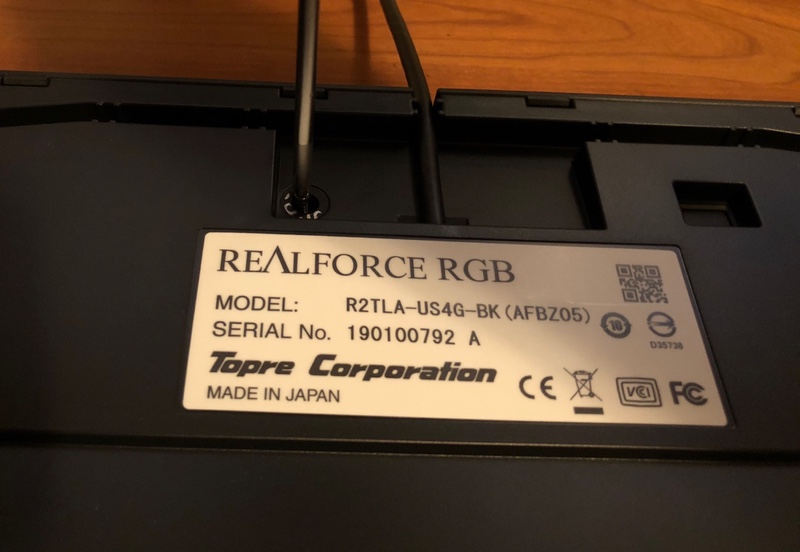
First up there is one screw to remove, under a tamperproof sticker. Goodbye warranty!
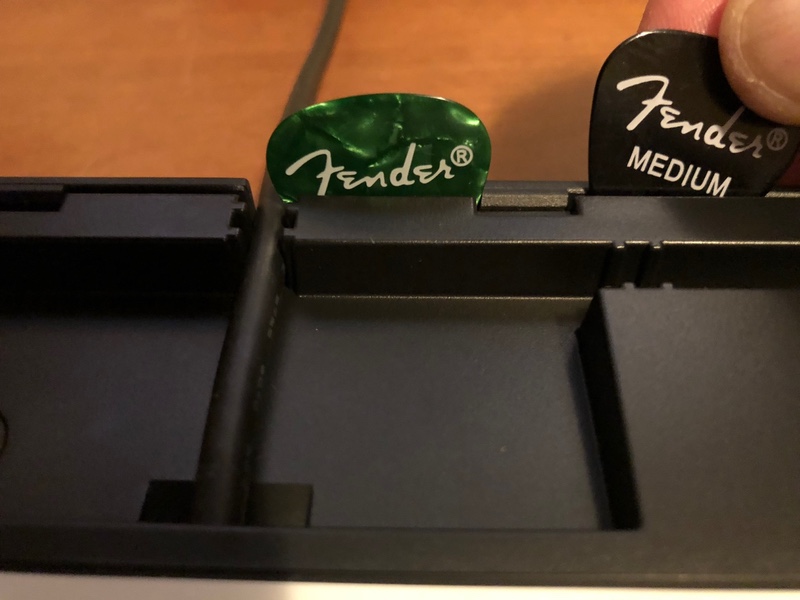
Opening up the case is a little tricky after that. You can see the clips at the back of the keyboard and they come out fairly easily with a pair of guitar picks inserted into the crack. Use just one and it will click itself back together again as soon as you move the pick.
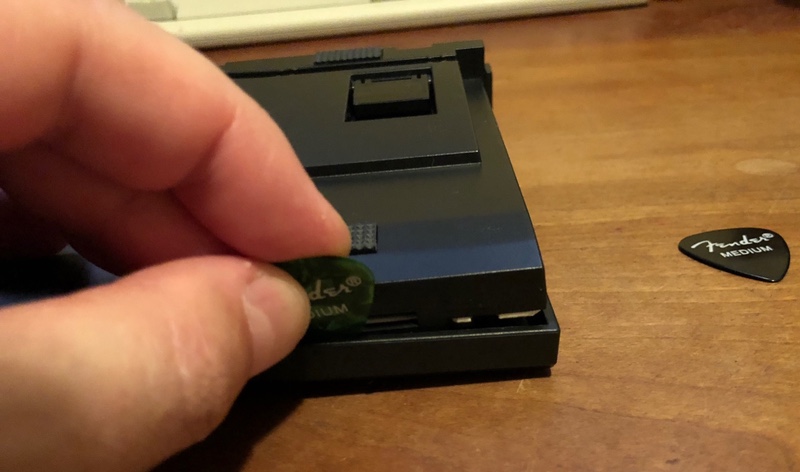
The front is a bit harder since you can't see the clips and they were pretty tight on mine. But put the guitar picks in and open the gap while levering up and the clips will click apart.
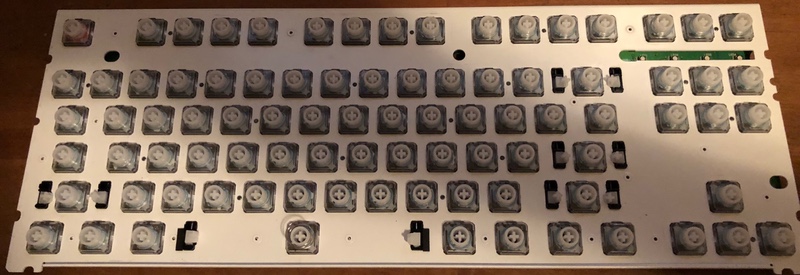
With the case off you can carefully unplug the single USB connector from the back of the PCB and the two case halves are free. Here's the part where your keycaps plug in.
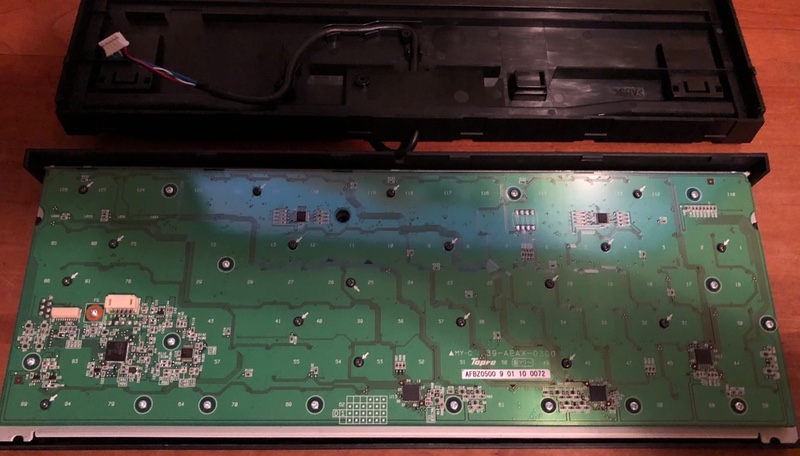
Here's the back - that's a lot of screws.
Like an old bit of Sony gear there are a bunch of black screws all with an arrow pointing to them. There are also a bunch of silver screws. Every screw needs to be removed and put somewhere safely. Once that is done you can carefully lift the metal plate directly up from the PCB and hopefully this does not happen...
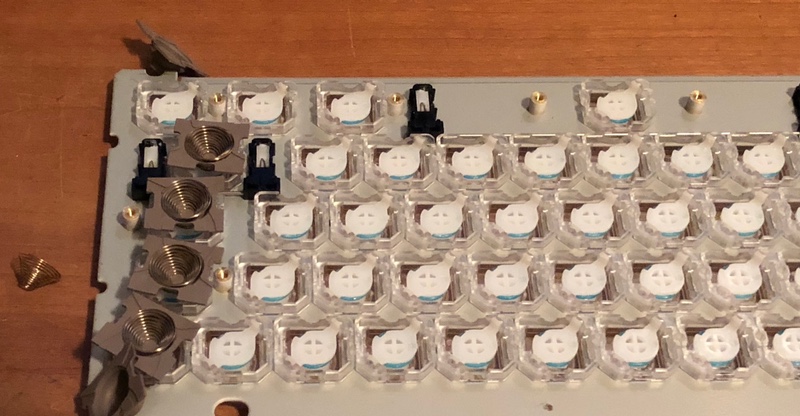
If it does you get to see how the Topre switch works. The white disc in each key position on the PCB is solder mask under which are the electrical contacts. The spring provides negligible resistance, instead it acts to increase the capacitance detected across those contacts as the spring is depressed. A microprocessor detects that rising capacitance and turns it into a keycode sent as a USB HID device. The rubber dome provides the resistance you feel when you press a key. If you want to experiment with altering key weight on a Topre you need to swap rubber dones, not springs.
Having a few of the rubber domes or even one of the big units with multiple domes come off is not terrible. It's better if you manage to keep it all in the exact position because it's annoying to put back but often the rubber is not sticky enough to stay there. You will need some tweezers to reposition the springs and domes back on the PCB - way too delicate for fingers. Do that first so no dust gets under where the domes should be and put it aside. When everything else is done you can lower the plate carefully down on top of the PCB and then flip it over to put the screws back.
When the PCB is off the stems can be pushed out of the plate. Each clicks into an individual clear plastic housing. You might be able to push them far enough with a finger so that they drop out, or use a pencil. Either way do it so they fall on a cloth where you aren't going to lose them, they are light and will bounce. You probably cannot buy spares!
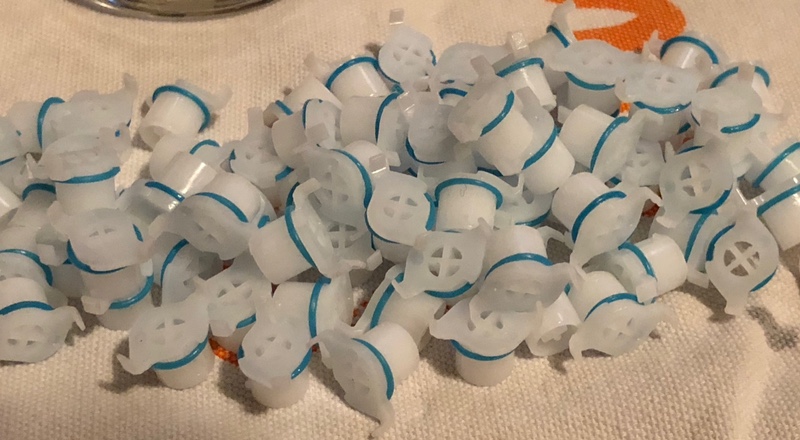
You can see the first part of the fix on the stems already - blue silicon rings. This is one kind of damper, another is a flat silicon ring. You can make dampers yourself if you have silicon sheet and two right-sized punches (and hours to waste) or you can buy flat dampers or silicon rings in various places. But be aware these are not the same as the red rings that go under Cherry MX caps. If you use those your keyboard will not work properly. I tried one and the keycap just doesn't return after being pressed down properly, also it feels like mush. With a dampening ring in place on top of each stem the stem cannot slap up against the top of its housing, with the sound of two bits of hard plastic rattling together. It's not pleasant.
The second part of the fix is lubrication. To do this right you need a very small applicator and you need to apply the right kind of grease in only the right place.
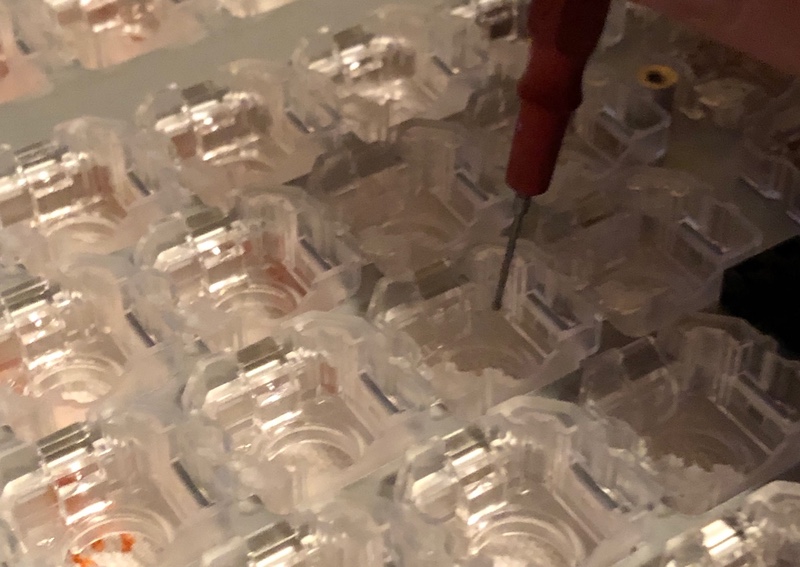 The red stick in the picture is something for watchmakers to apply grease with, I bought a set and they are useful. The grease is going into just the corners of the stem housings, where the "ears" slide up and down vertically. If you use too much it will dampen the action of the keys and feel bad. Just a tiny bit on each of two corners will do.
Do not put any on the ring or the stem - this will make the key feel sticky and depending on how much there is you could feel a slight stickiness as the key is pressed down and the stem unsticks itself from the housing to move down. This is the second time I have disassembled this keyboard, this time to wipe off the grease on the stems. It did make the keyboard quieter but overall it was a bad idea.
The grease I used is Tamiya Cera-Gease, made for lubricating plastic gears. There are lots of kinds that will work but whatever you try be sure it is safe with plastic. Also probably not a black messy grease like Tamiya Molybdenum. The nozzle is too thick for the tiny amount you want to apply so squirt some out on a piece of foil and apply it with a watchmaking tool, or whittle a wooden stick or use a toothpick. I don't know if the fancy grease talked about in some forums would be appreciably better, maybe, but too little is probably better than too much.
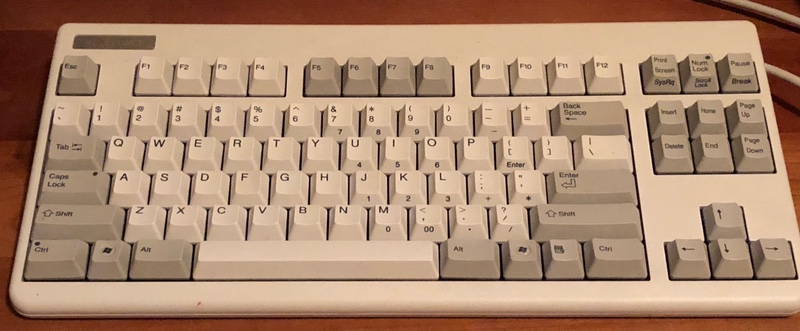
Here's the finished keyboard.
The caps are from Signature Plastics and if you have ever bought any sets of eBay caps then you are in for a treat with these guys. Their space bars are straight, for one thing. They have OEM (regular cylindrical profile) as well as SA and these DSA keys. I love my Dolch set and I'm happy to be using them again. Right now you can buy them but they go in and out of production.
So out of the box prepare for disappointment. It's not an AUD$300 keyboard at all. And an identical model, called "R2" (but apparently no different) just got released in the USA at US$399! I just can't understand how they ship with such ugly keycaps, even the CODE keyboard had decent doubleshot backlit keys with a good font for under US$200.
However after this treatment I'm very happy with my new RGB and it sounds and feels as good as the 87UW55, possibly better. Now I'm wondering how good the 87WU55 would get if I did the same?
