Amiga 1200 Keyboard, part 9
It's been a while!
Well not that long as far as time between blog posts goes. Last time I had decided that the way to mount this thing was 3D printing. Almost as soon as the last post was up I decided it would be educational and useful for all kinds of stuff, so I got one. I ordered the Prusa i3 MK3S kit direct. Couldn't believe when it shipped the same night and arrived in Australia in just a couple of days. And then I went to WWDC in San Jose, so it went untouched for about two weeks.
Prusa 3D Printer
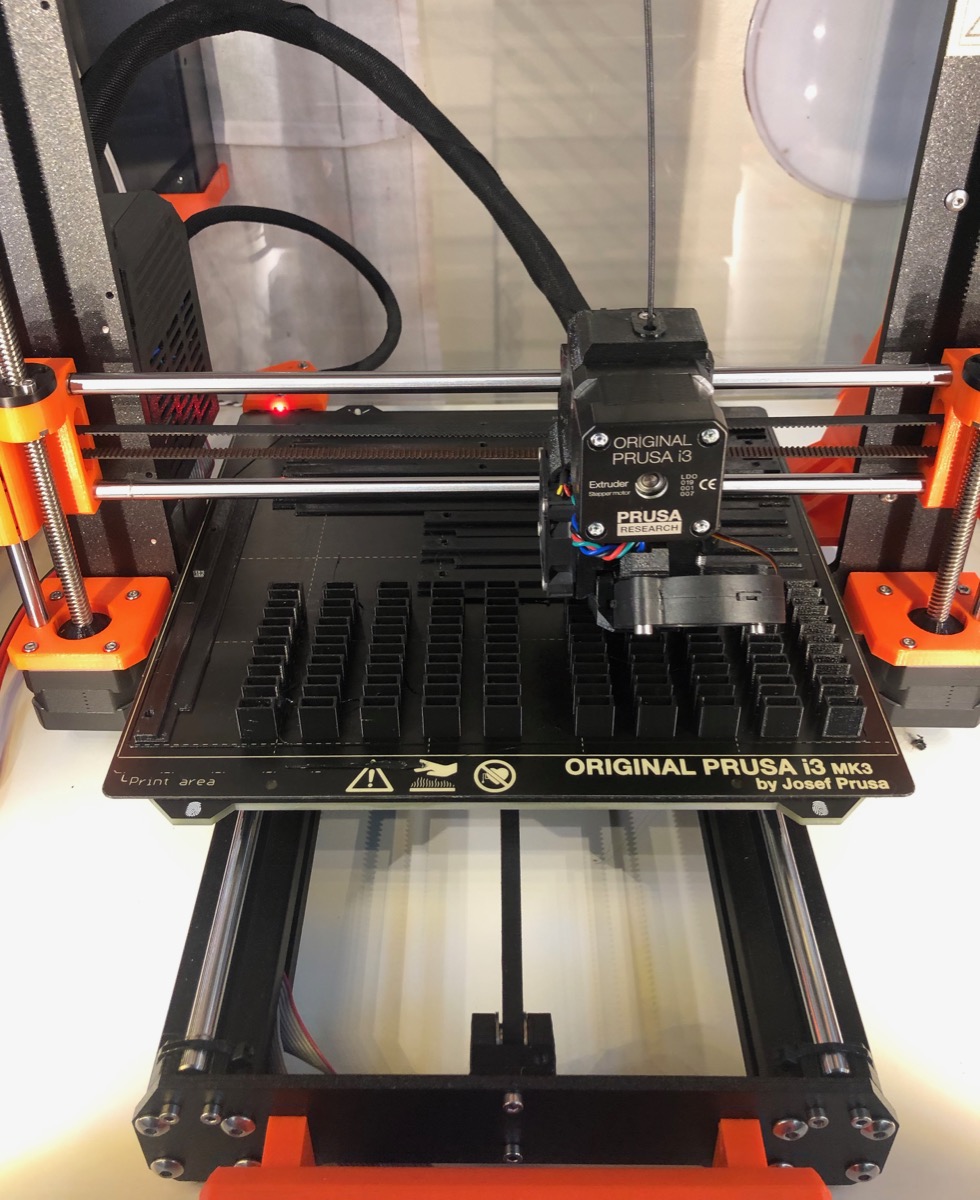
I've never owned another 3D printer though I have used a couple. The really impressive thing with this machine is that you get everything right down to alcohol wipes, hex keys, pliers, filament, and an instruction manual the size of a thick glossy magazine with photography to match. You even get a pack of gummy bears. Check out any number of youtube videos for a full review of this kit but if you're wondering whether it's worth the premium over cheaper printers I'd say definitely yes. Has worked well from the first print (one nozzle jam but fixed easily enough).
Octoprint deserves its own post, but what a great piece of software. I'm using it. So much nicer to use a web interface over shuffling SD cards around.
Design and build
Previously pictures were shown of the aluminium mounts I made for the keyboard in the A1200.net case. I decided to stop using these and to change the design a bit for a few reasons. First, it's too hard to make, and with the machinery I have available it is a bit dangerous to be routing small pieces of aluminium angle. I sold a few boards and I wanted to be able to give those people 3D designs too, and I wanted the pieces to be easy to install.
I used Fusion 360 from Autodesk. It's good because it's powerful, and it's free for an individual if you derive less than $100k in revenue annually from using it. That's me. It sucks because so much of it is cloud-based. Every single time you want to export to STL you wait, and wait, and sometimes it eventually succeeds. I'm using Shapr3D on the iPad Pro also - fantastic so far.

In the A1200.net case there is some plastic molding right above the edge of the keyboard - that made fitting a piece of aluminium angle necessitate filing slots for those plastic fins to fit into or the case could not close. This could not continue with a 3D printed solution because plastic is just way more flexy and including slots would remove any stiffness it ever had to begin with. This problem almost had me thinking I would need to redesign the PCB.
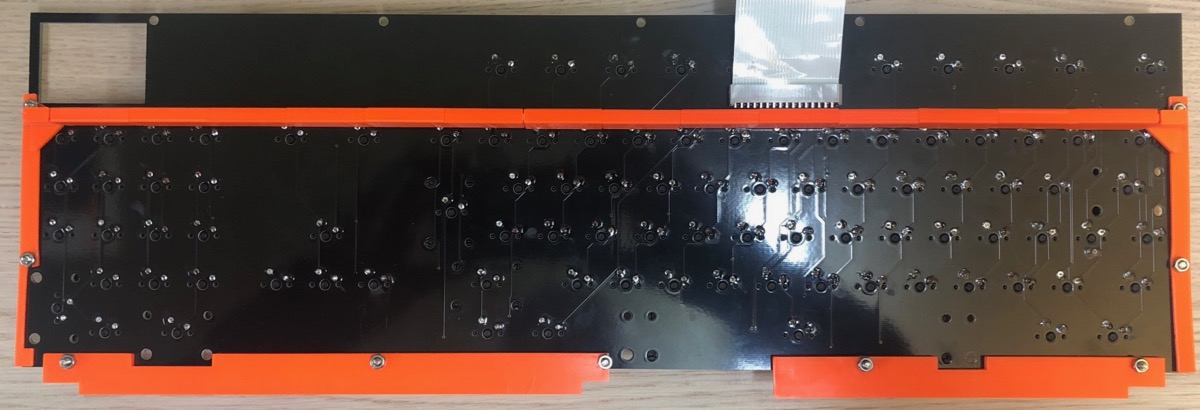
Then I thought about putting a 10x3mm aluminium bar under the keyboard, supporting from behind and being supported in turn by the side rails - and it works! To avoid having a long piece of conductive metal in proximity to anything in the trap door (or the keyswitches) I printed 3cm lengths of rectangular section that fit nicely over the bar. This also raises the keyboard support so the PCB does not sag in the middle. The ends of the bar fit into the sockets on the side rail pieces, which then attach to the side of the keyboard with short M3 bolts. Finally the lower support rails attach with longer M3 bolts.
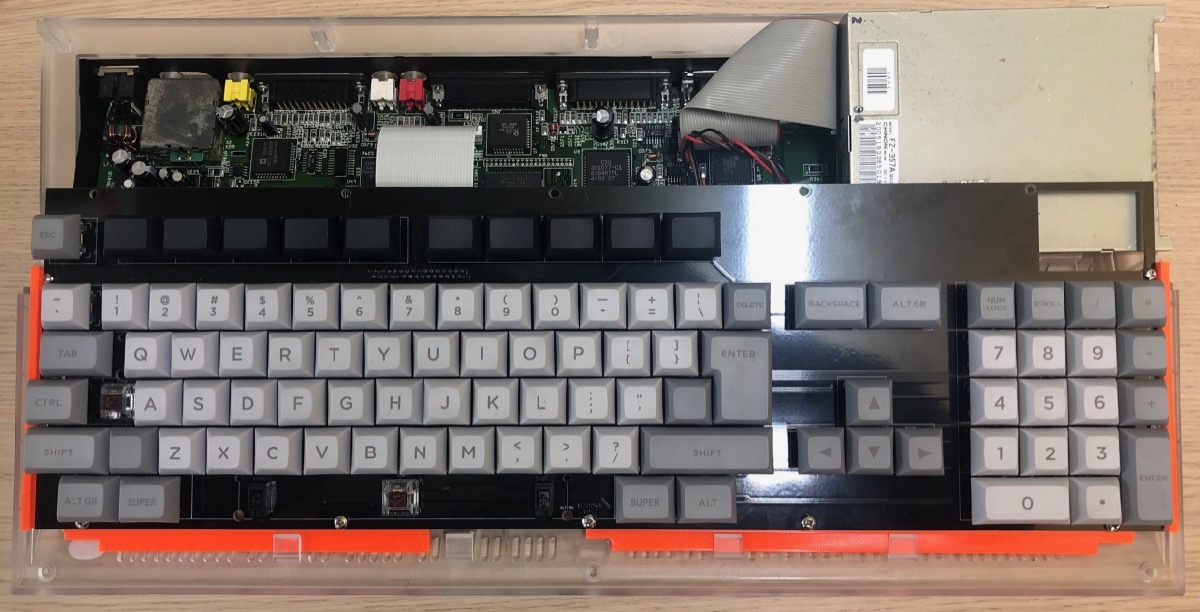
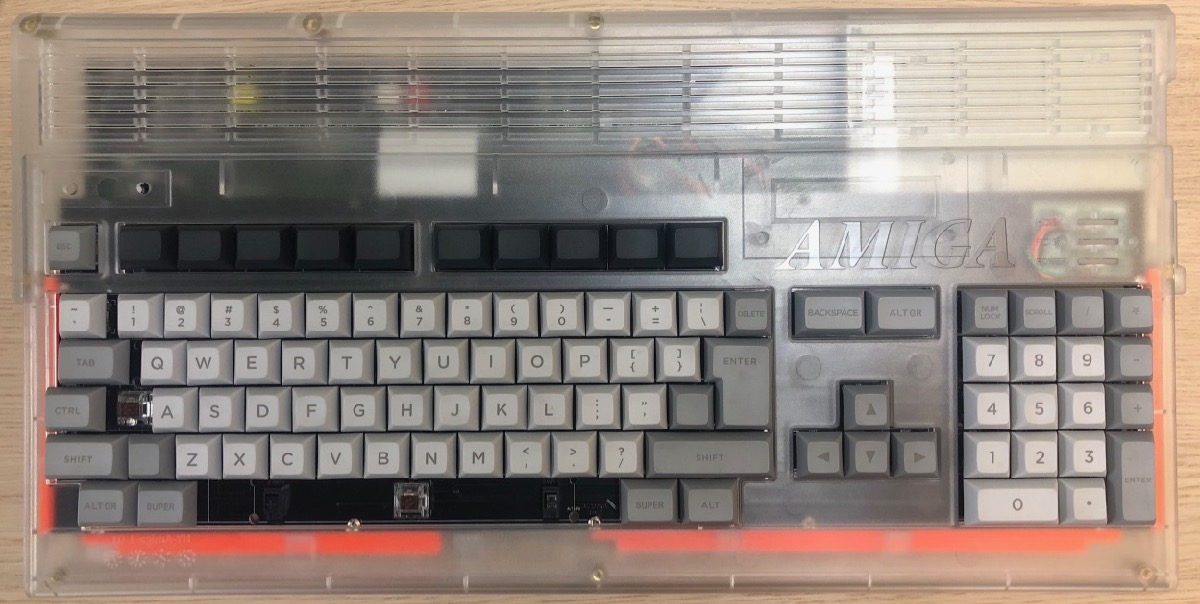
This gets the keyboard in just the right spot. DSA key profile makes it all a good fit. I also checked it out in the original Amiga case, and though I had to revise the bottom rails to clear the round bumps either side everything was fine there too. It is a tighter fit in the original Amiga case but still good. There is plenty of room to clear any trapdoor accelerator you might have. Devices like Indivision, I don't know, I don't have one.

And that's it! (not really)
The Amiga is now fitted with the mechanical keyboard, 4GB solid state disk module, 3.1.4 ROMs. I got a PCMCIA adapter so transferring data from the PC is no problem. But I still need:
- Hyperion 3.1.4.1 update (Amiga on the Lake have mailed me a serial number for my OS, waiting)
- optical mouse (ordered from Amigakit, waiting)
- IDE interface and multiple internal CF card adapters (Amigakit, waiting)
- joystick (have a basic one, but I need to build up the ultimate Sanwa I have been collecting parts for)
- monitor solution - got the OSSC, have not had time to do much with it yet.
- figure out WHDLoad and get all my favorites like Dungeon Master and FA/18 Interceptor working again.
- proper Amiga keycaps. Time to start experimenting with laser engraving some of the blank keycaps I bought.