Powering the Raspberry Pi 4
If you have ever used a Raspberry Pi you have probably used plugpacks, and you may have decided not to buy one at first because you had ten lying around already. And then you found the Pi wouldn't run using anything but a genuine Raspberry Pi foundation unit. I did.
When the Raspberry Pi 4 appeared with a requirement for a USB-C 15W power supply I thought I would probably buy the Pi official Pi supply for that too. But having just done the Amiga Internal PSU using a Mean Well module and some 3D printing I decided I would rather do the same here. And in 2019 I don't have ten USB-C plugpacks lying around anyway.
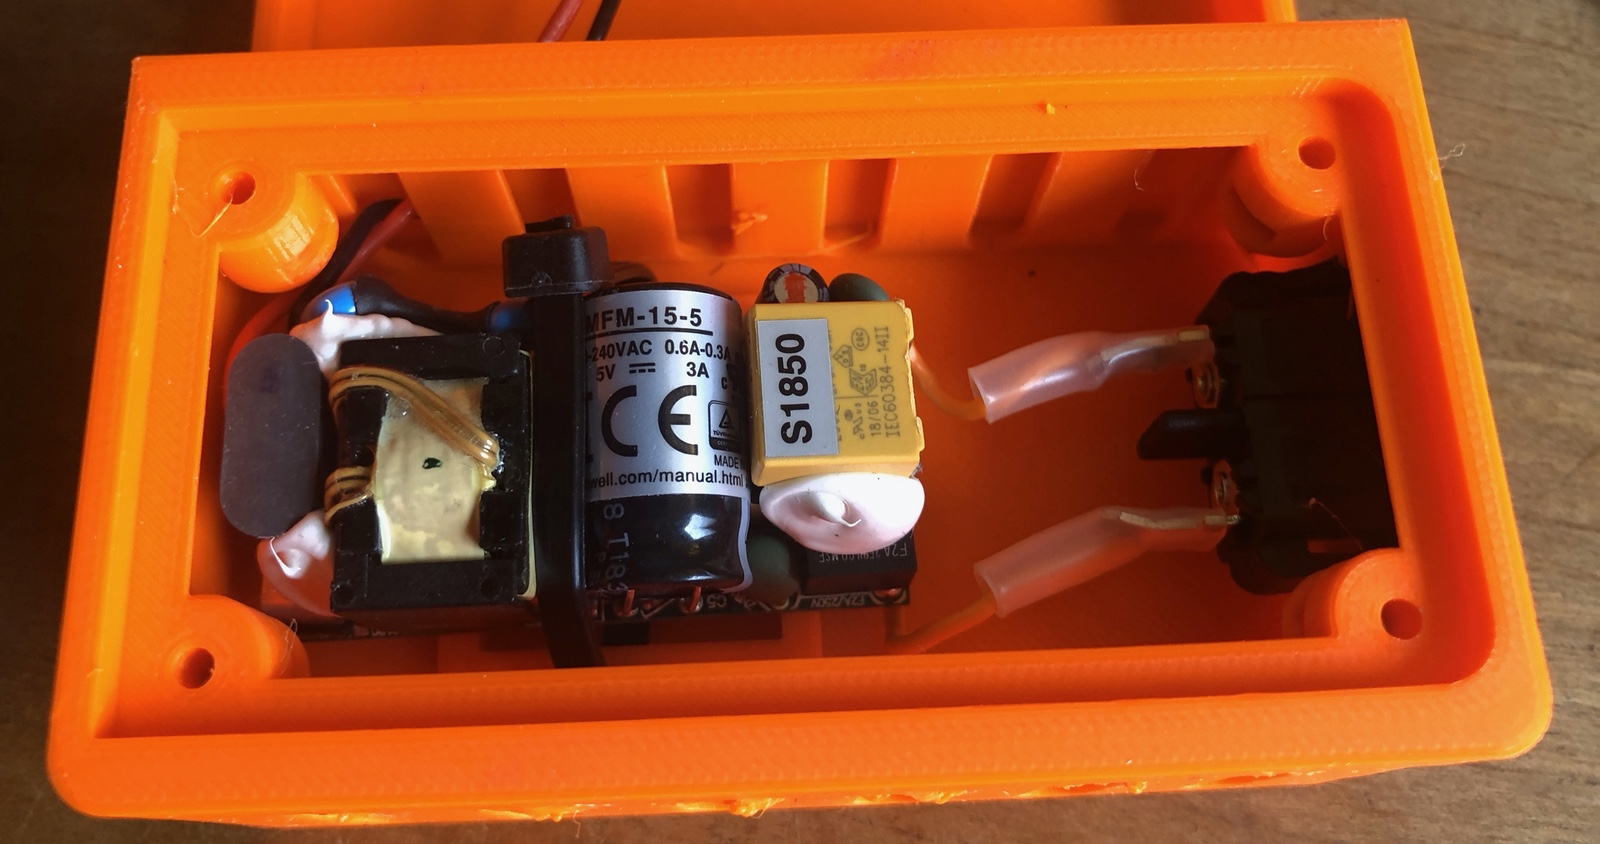
Sure enough they have the MFM-15-5 - a 5V, 15W supply for around AUD$16. It would handle a Raspberry Pi easily, if only it had a housing. So I made one. I have a theory on these things - they have to be decent as well as cheap because the engineers who are supposed to buy them and use them in products can see them, unlike what is inside a sealed plugpack.
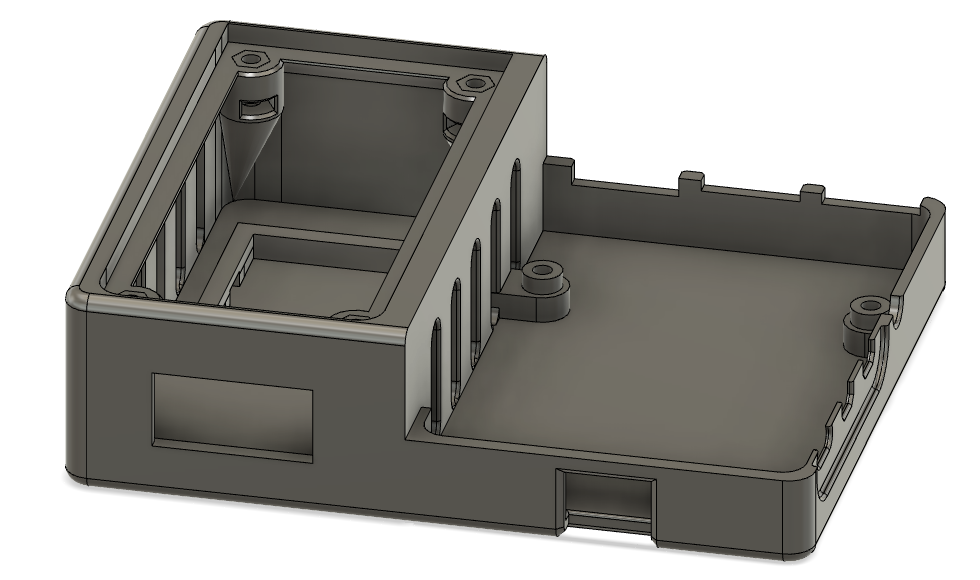
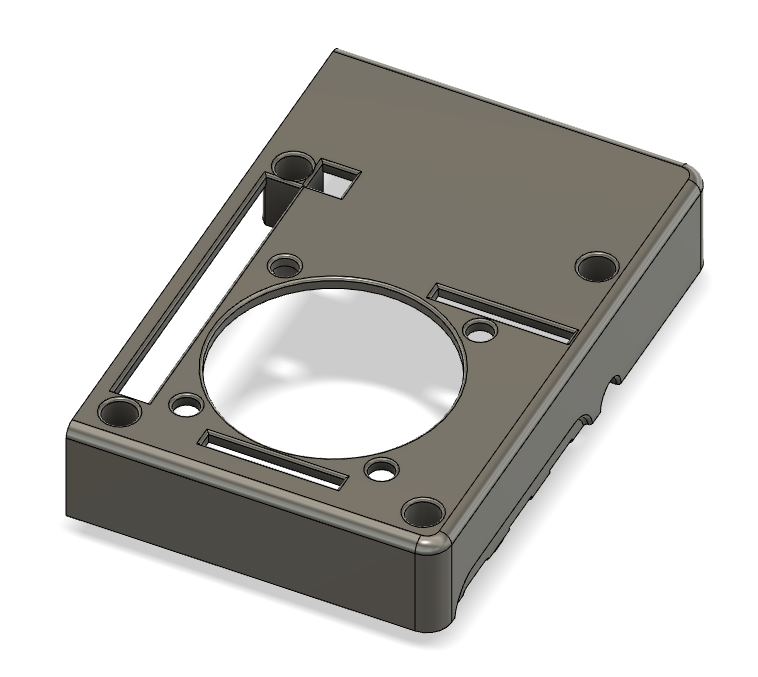
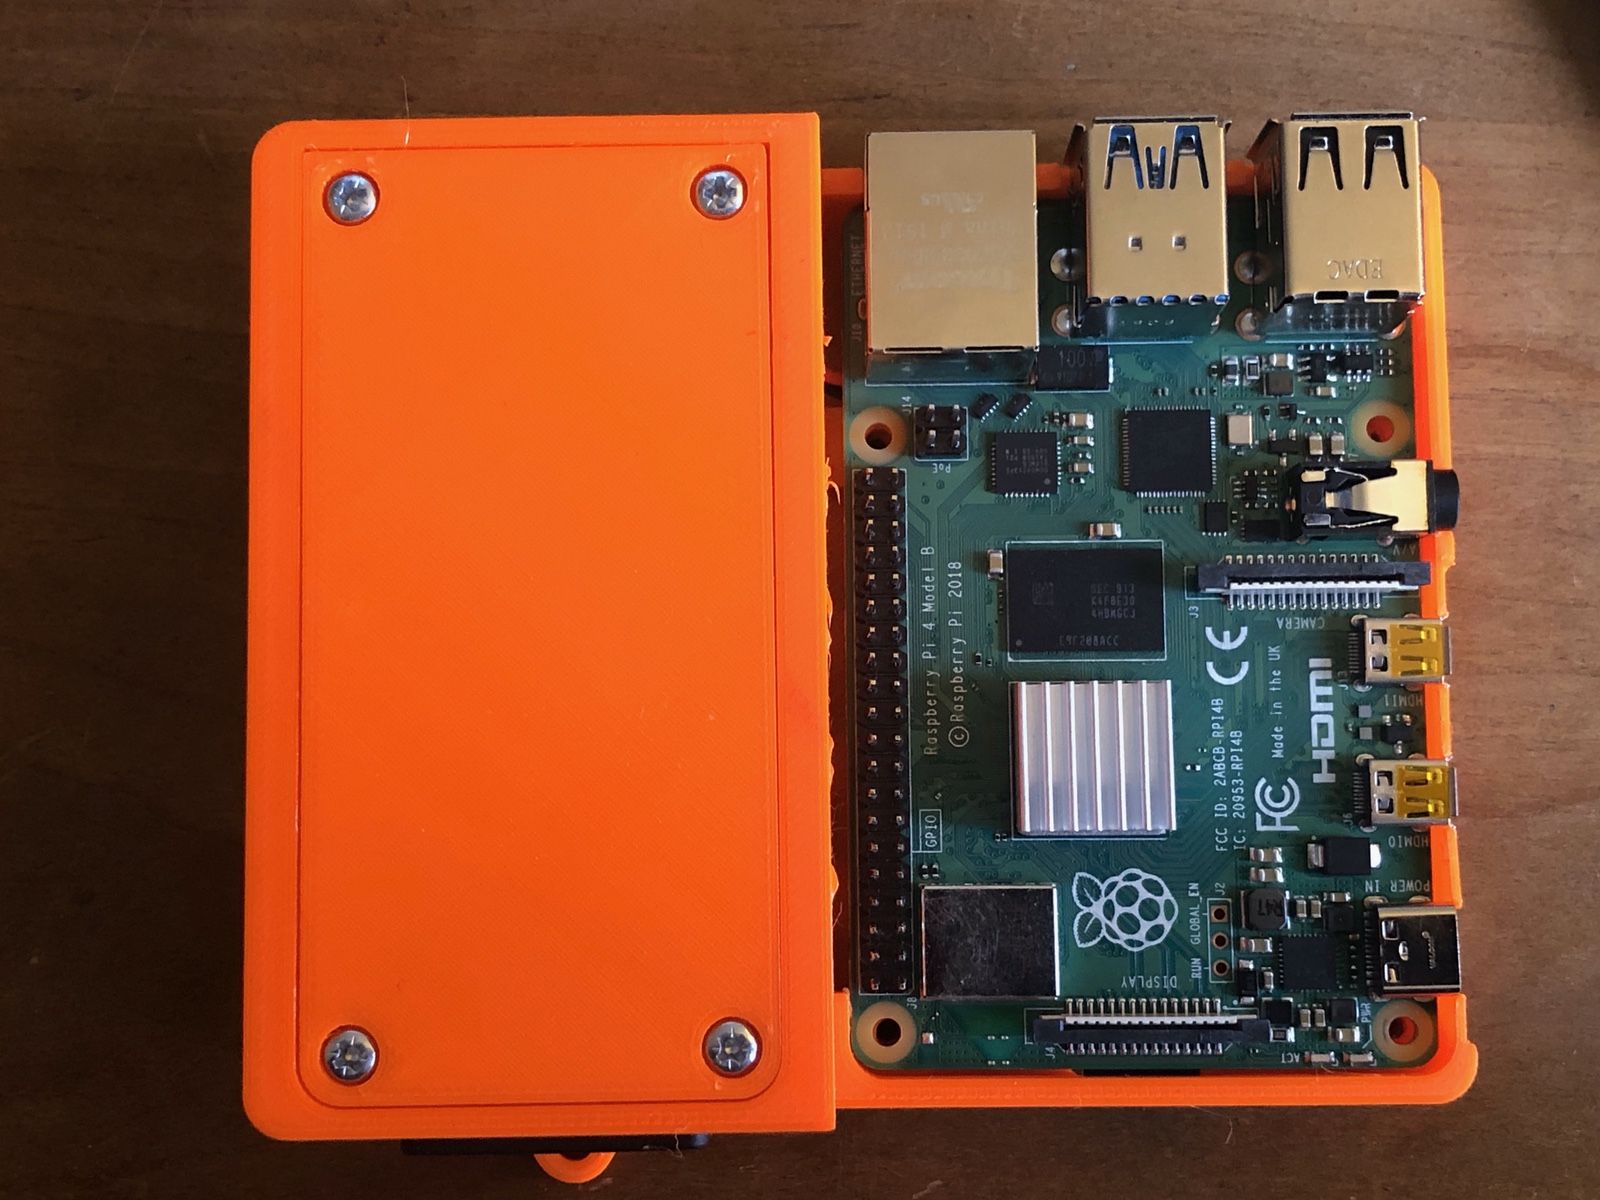
With Fusion360 I made a few versions of a housing for the Pi with an attached compartment for the power supply module. The IEC C8 plug snaps into place on one side and the 5V output connects via two wires to the Pi in the other compartment.
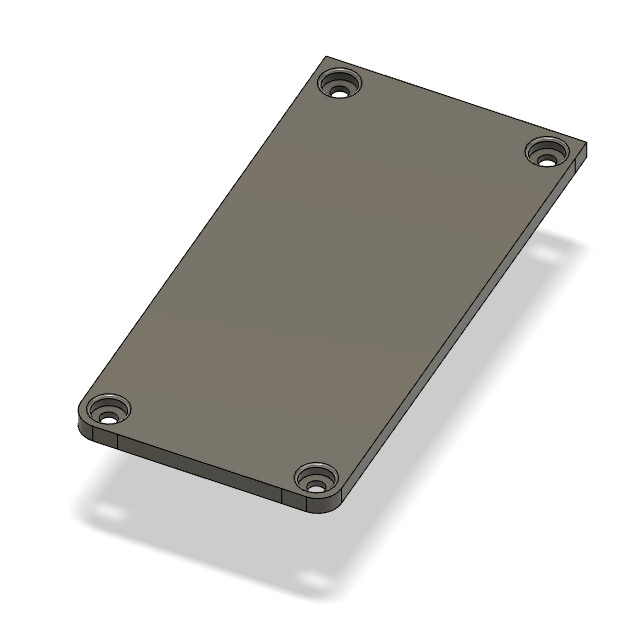
There are two separate lids so that you can leave the Pi lid off if you want while keeping the mains power covered.
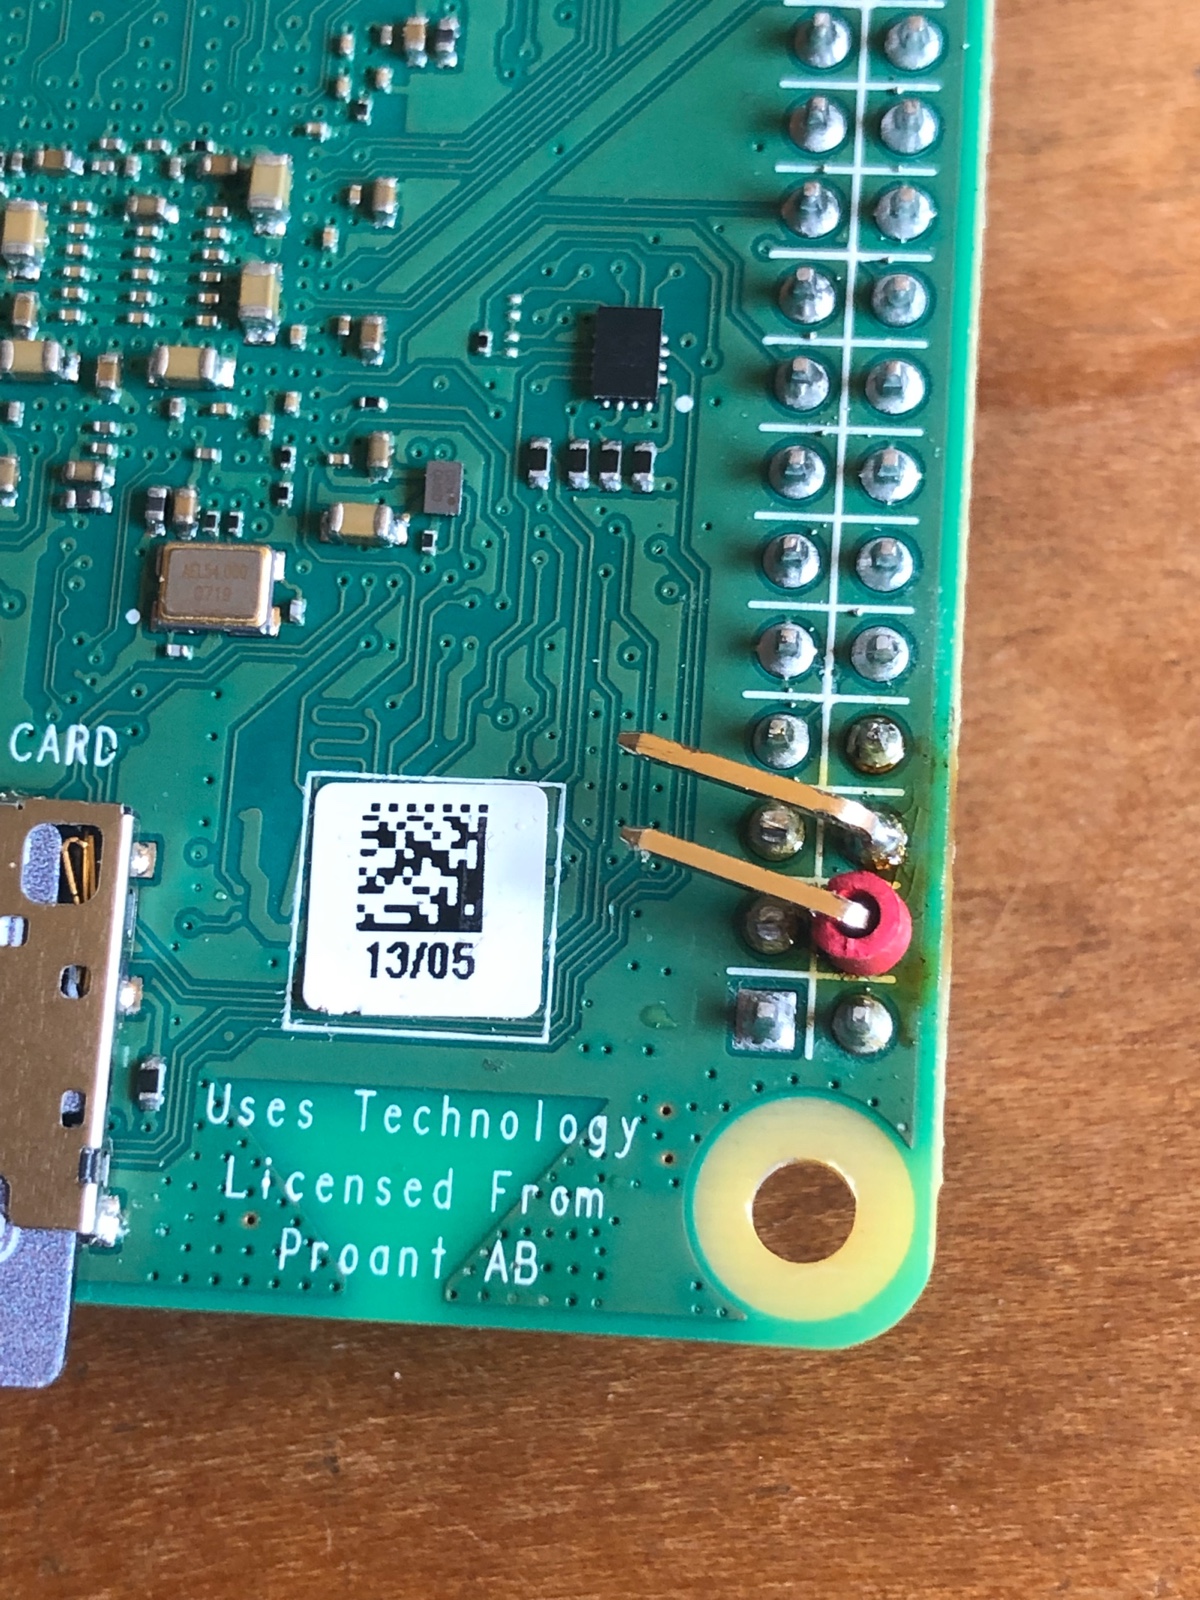
Powering the Pi is pretty easy since the power pins are available on the header. It would have been OK to plug the power into the top of the header but then other headers, or hats, would not fit. Instead I took some longer right-angled header pins and took out the GND and 5V pins from the main header, inserting the right angled pins instead. Then the power wire can attach on the bottom of the Pi leaving the header available.

The power supply module connects to the mains plug on one side with the 5V wires going into the Pi side through the ventilation holes. It's held down with a cable tie.
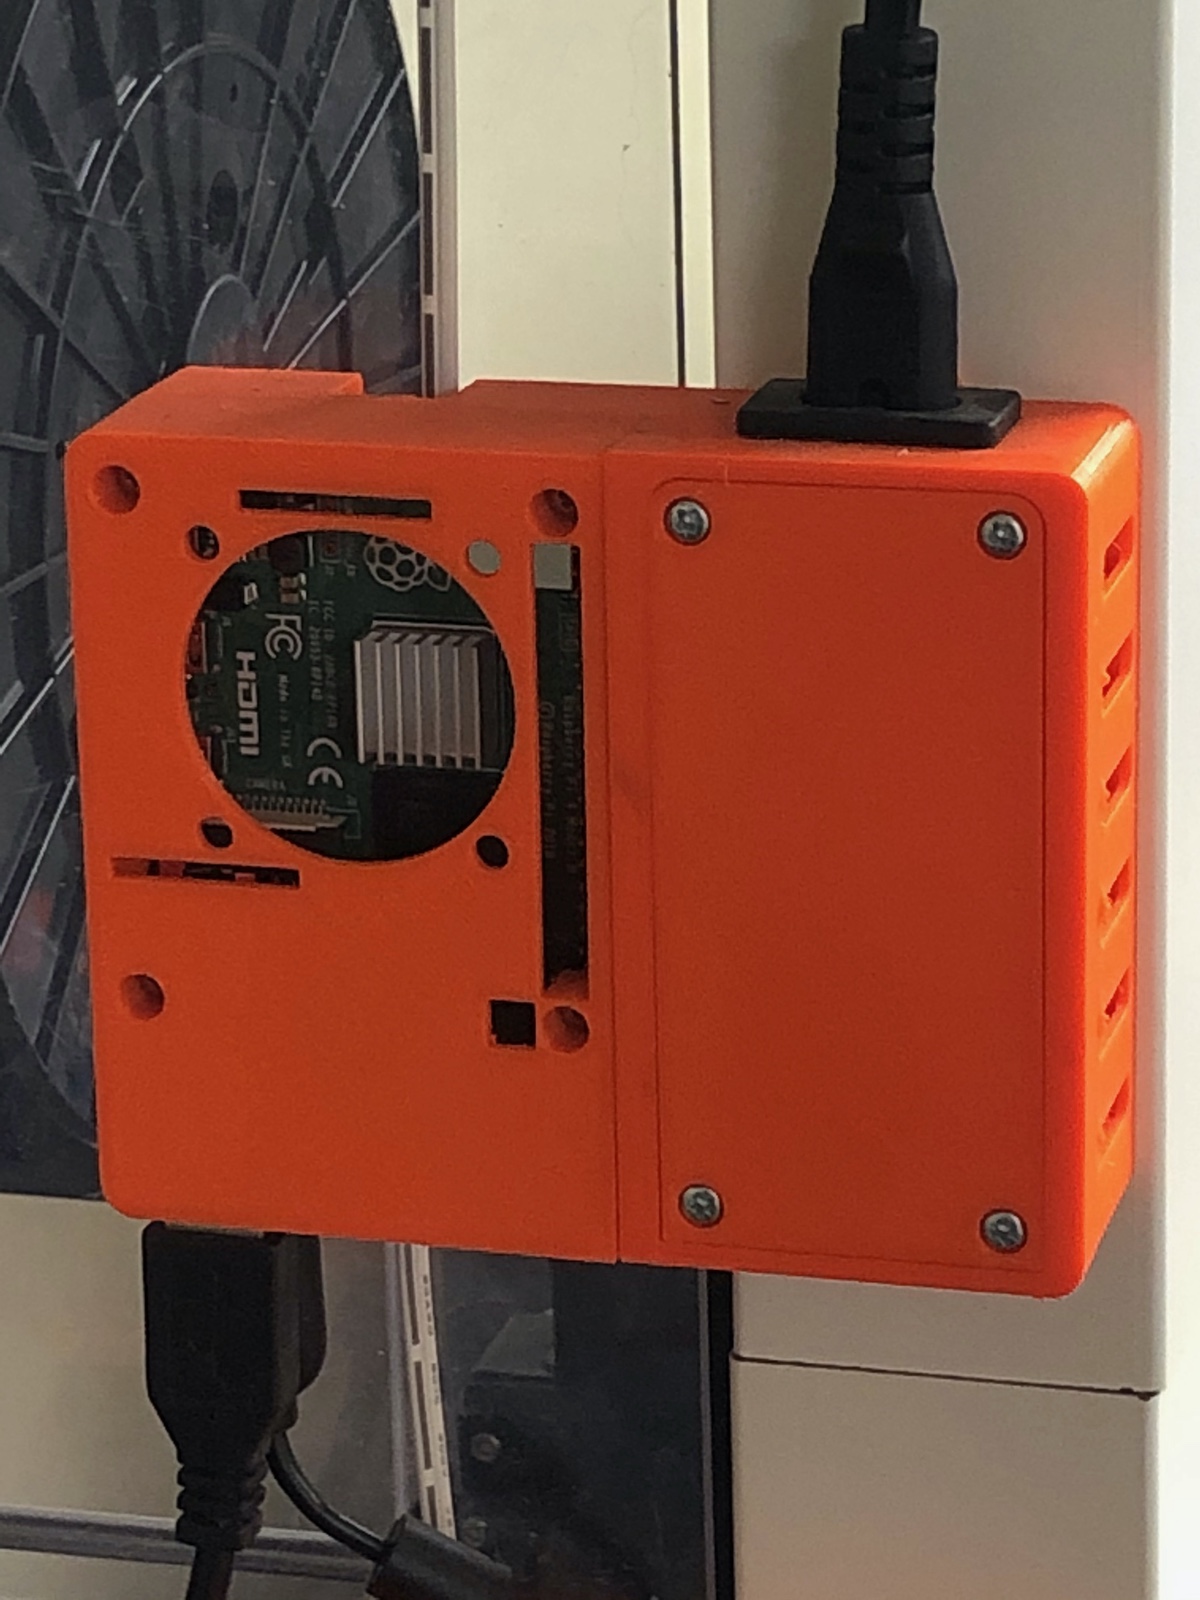
When all hooked up you don't need to see the power supply wiring at all. The Pi has everything available.
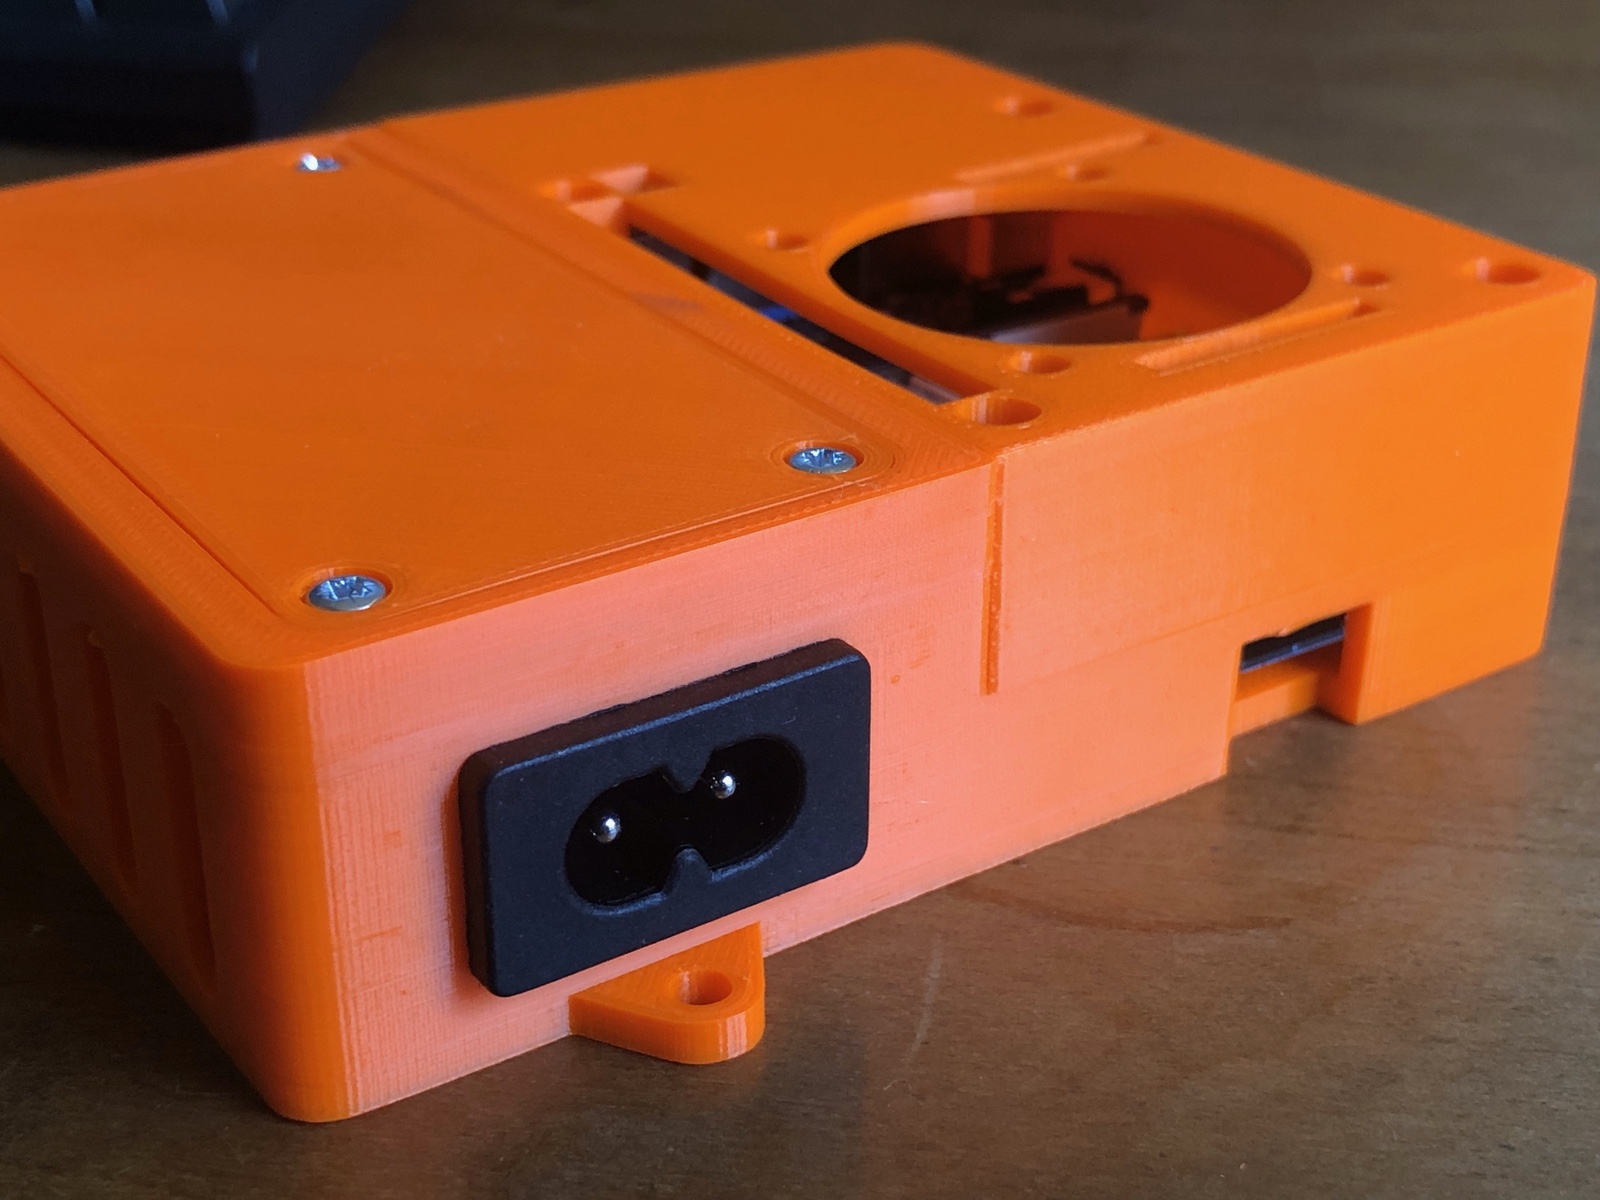
The big difference is you plug in a regular mains cable. No plugpacks! I used a standard C8 panel mount socket, that's the same mains cable as a Mac mini or many of the bigger plugpacks use, so plenty in the junk box.
The main use I have for this thing is on the 3D printer itself, running Octoprint - Official Pi 4 support is not ready yet but I have found the Pi 4 test builds very stable. It can do other things like Pi-hole while attached to the printer housing but it needs to be close to the printer to take care of the webcam.
You can download the STL file at my page on Printables - it's free and is one of my most popular designs.
Brief Autodesk Fusion 360 comments...
Autodesk's website sucks. Hard to navigate, too many confusing options. You don't just download the product, you download a "downloader". The app itself is OK once you're doing something. BUT the cloud-based nature of everything makes it a pretty bad experience. If you like waiting a few minutes every time you want to load a project, or waiting again when you want to produce some STL output then you'll love Fusion360! I wish they could have just written a local Mac application. Not that it's any better in the Windows version, I have been using both. Maybe if you're paying for an expensive license they will sell you a local "cloud" server or something. And the licensing has just changed. No more "Startup" license for everyone, now the free license has a few restrictions on what the product can do and the Startup requires some qualification. I'm not sure how (or if) this will affect me yet.
edit June 2021: Dumped Fusion360. Tried Shapr3D but it's not good enough yet. Found a way to legally use Solidworks without paying $10,000! I'm very happy with it.
Once again, don't do anything like this unless you are competent and understand the risks. Making connections incorrectly or being careless could destroy your Pi or even kill you.