iPad stand
Suddenly we were all working from home. Solutions were required...
Clear the Desk
Actually I didn't want to clear my desk. My regular desk has my personal computer and monitor on it. I use it all the time for 3D design, Garage Band and everything else and I didn't want to shove all that aside to make room for the work laptop. Likewise I didn't want to install a whole lot of corporate security stuff onto my own Mac just so I could use it for work.
Second Desk
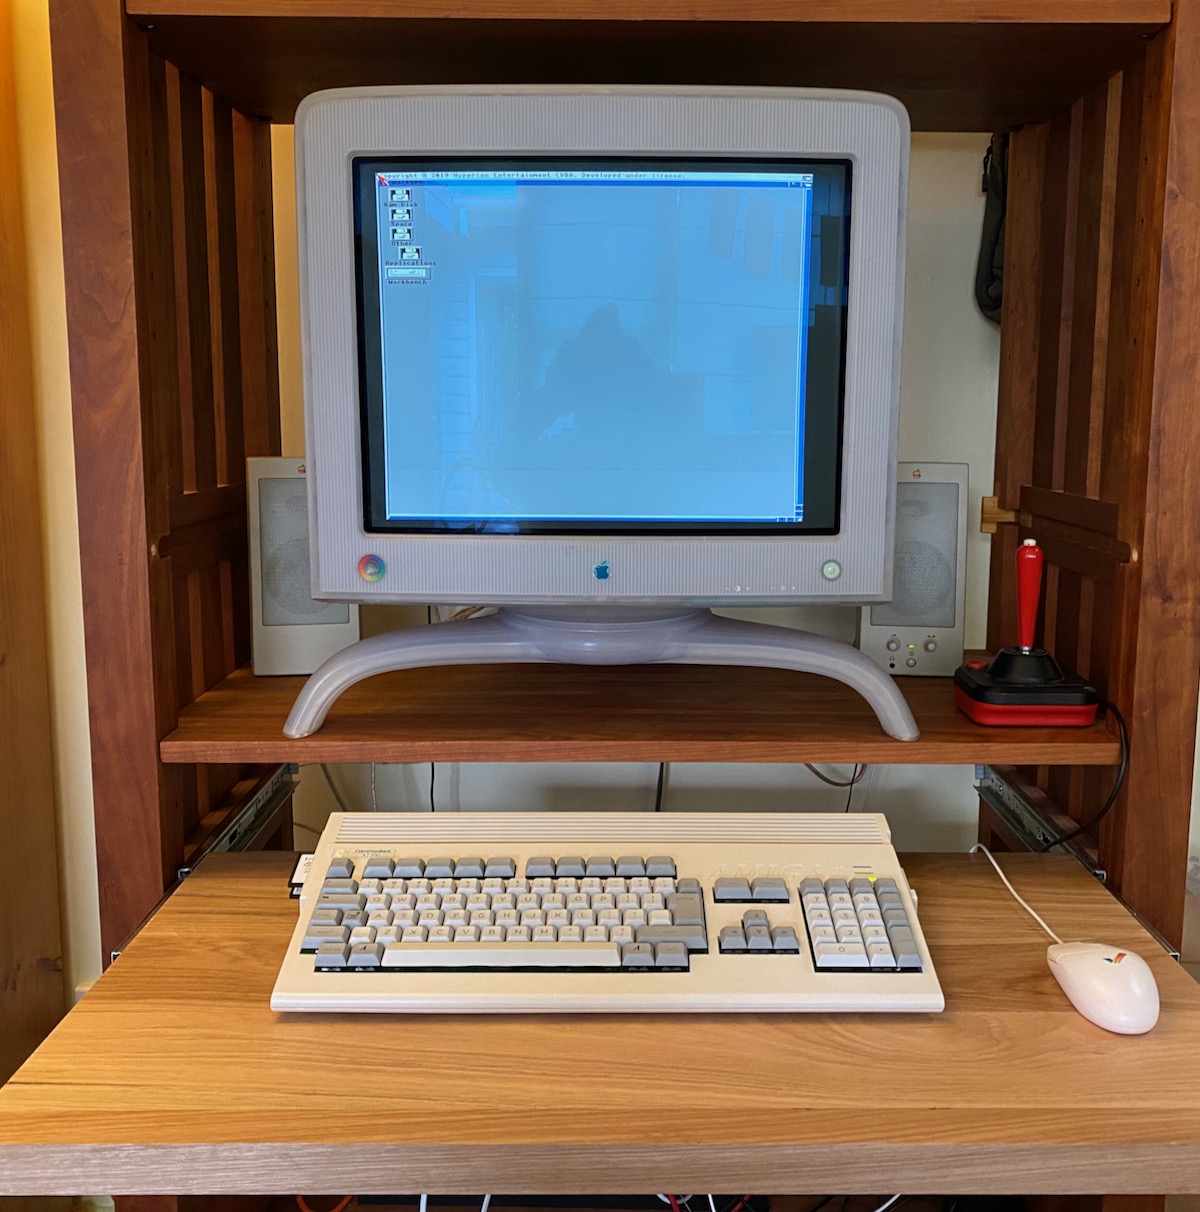
Last post, about completing the Amiga 1200, described a ladder unit to which I added a sliding shelf. It's a good size for an Amiga 1200 but not very deep. Certainly not deep enough for an open MacBook Pro, an external keyboard and a monitor, not that I really had another monitor to spare anyway. I needed to work out how to comfortably use the MacBook Pro (hereafter MBP - a 2018 15" model) five days a week.
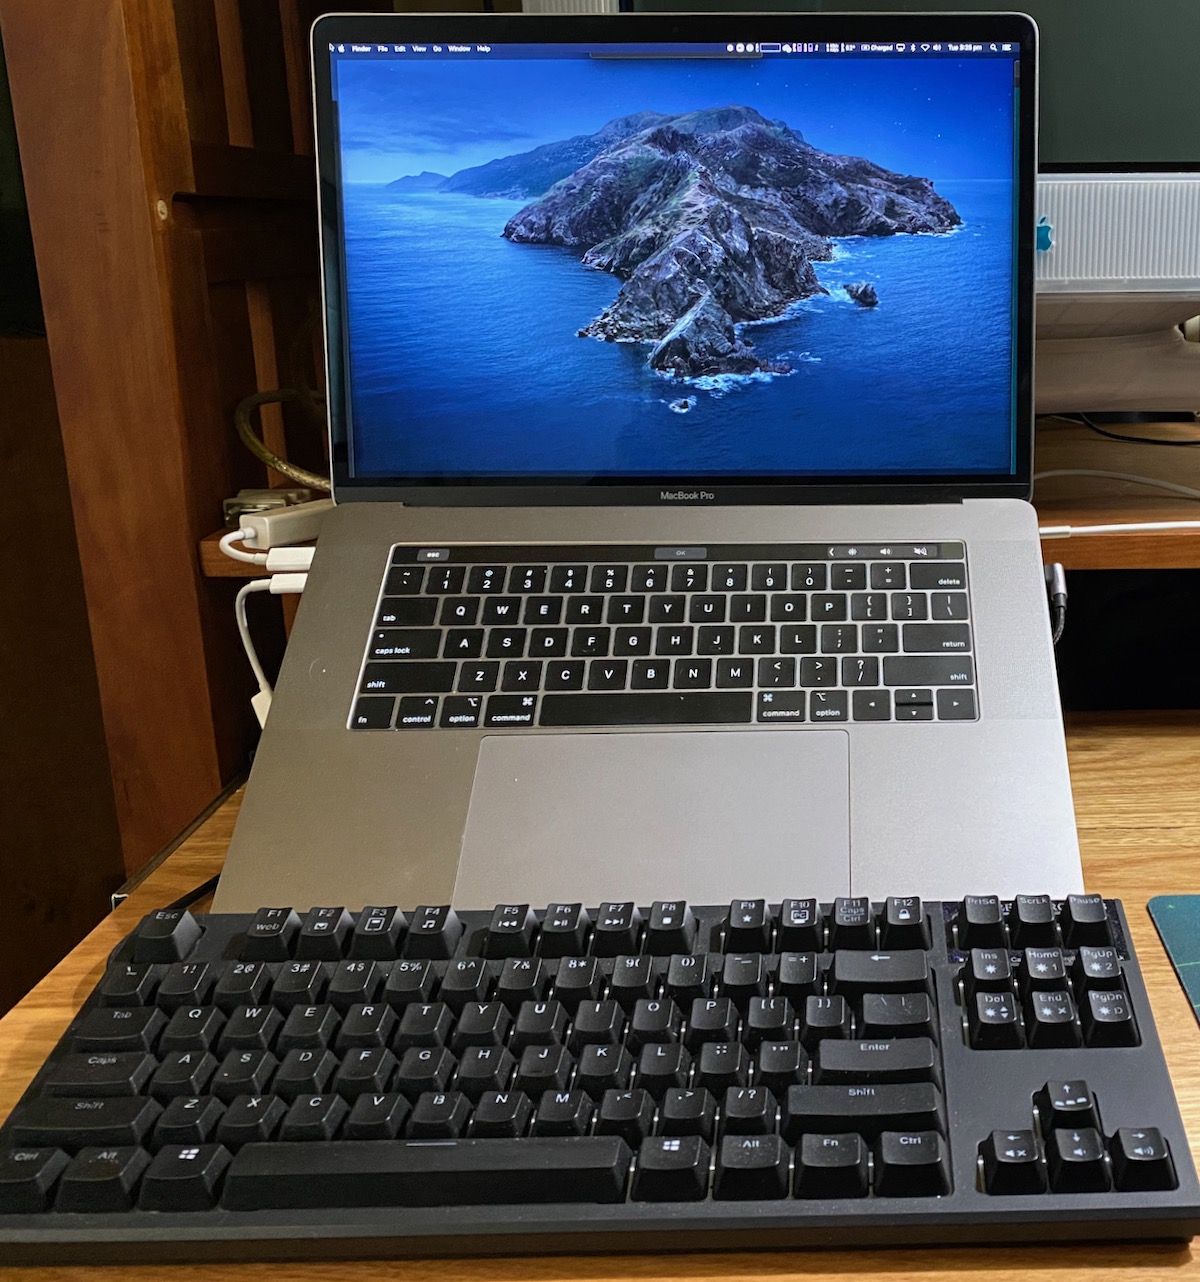
I don't like the keyboard on the MBP so I wanted to use an external keyboard and I much prefer an external mouse to a trackpad. Using a keyboard with the MBP open requires just a bit too much depth with a big mechanical keyboard in front of it. Also I noticed on conference calls that those using their machines flat on the desk had the camera pointing more or less straight up their noses, so it would be better to raise it up a bit on a stand.
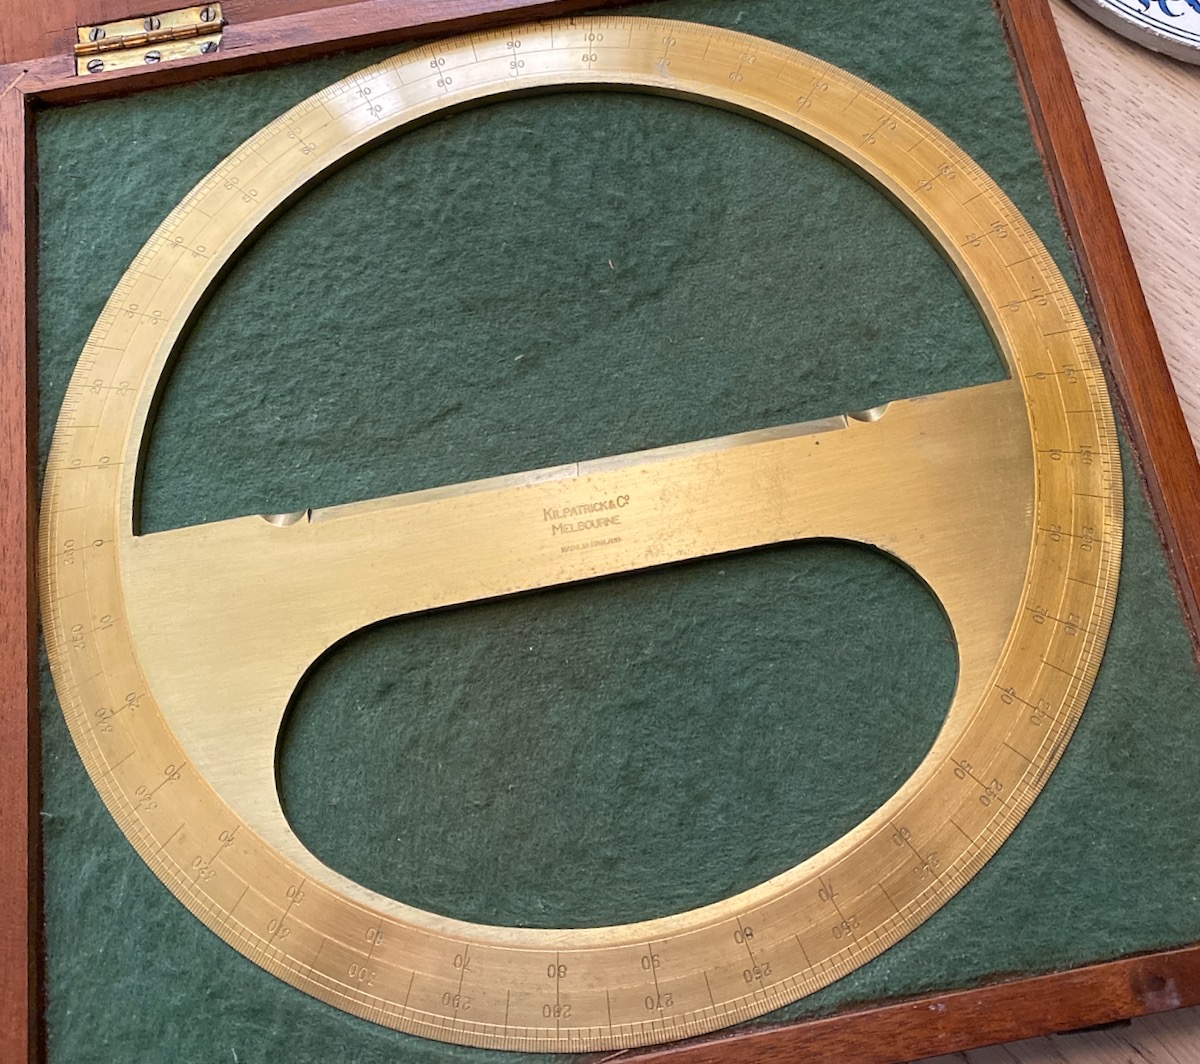
(Of course you need a massive, vintage brass protractor to accurately measure a MBP.)
Stands, like monitors, office chairs and hand sanitizer all sold out about a month ago, so I made one. I measured the angle of the MBP and designed the stand so that fully open the screen would be just tilting back a little, leaving some room for camera angle adjustment.
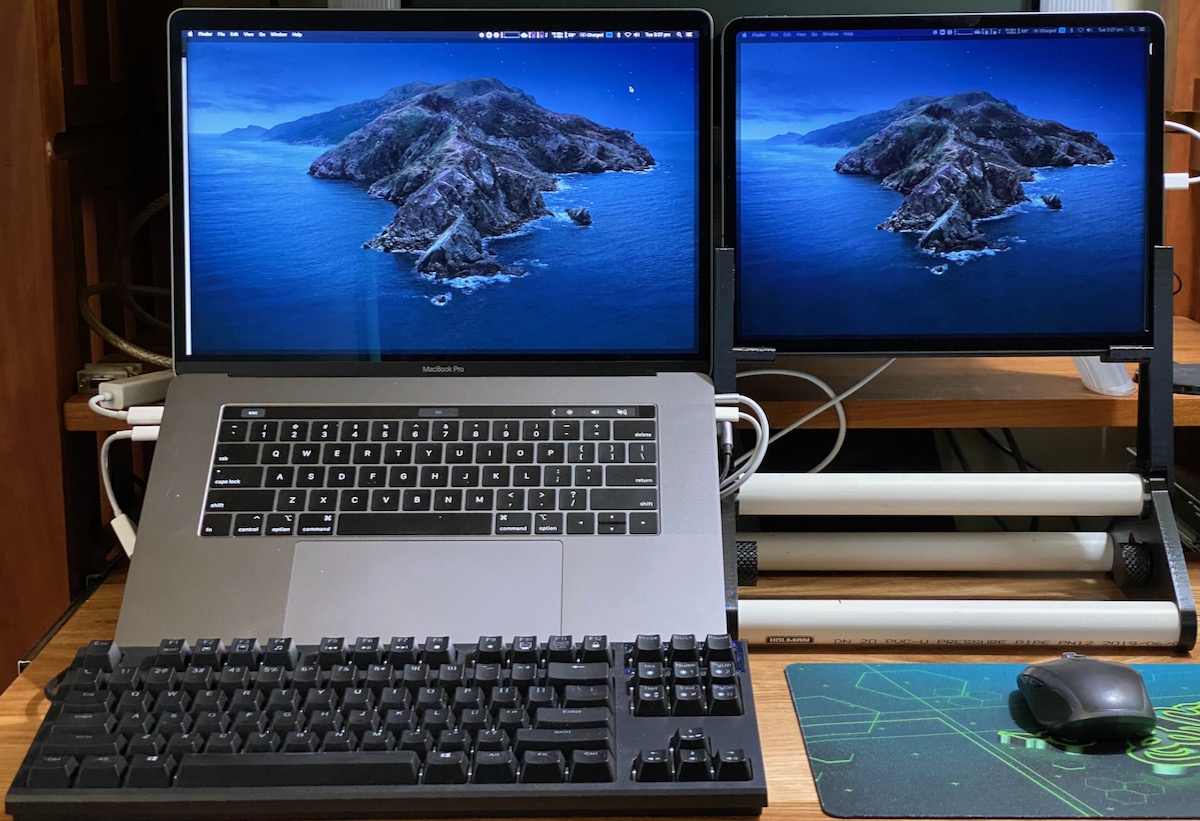
I made a simple stand to hold the MBP open at the correct angle by 3D printing two side pieces. They are joined by PVC pipe with an outside diameter of 21.5mm (Holman water pipe). This will also allow the stand to be used on other models if I should get a wider one (surely I need an upgrade to the 16" model?)

This raises the screen high enough in the air to make long-term use more comfortable, reduces the required desk depth a little and makes the angle of the built-in camera better for conferencing. That was the MBP, keyboard and mouse problem solved.
Xcode is fine on one full screen, but then switching back and forth to keep abreast of the discussions in chat and the emails and everything else got a bit tedious. I decided to use the iPad Pro as a second screen, and this post is about that stand.
iPad Pro
An iPad Pro is a fantastic screen. I bought a 2018 model when they were released and have not regretted it at all. For the occasional movie, for large and readable music (forScore) or books (iBooks) or PDFs (PDF Expert) and even 3D modelling (Shapr3d) it's amazing. And now with macOS Catalina "Sidecar" it can be as good as an external monitor for a Mac, and sharper than most monitors. if connected via USB-C cable it is completely lag-free.
Elevation
With the MBP up on a stand the iPad isn't in a good position to be a second screen as it sits down low on the table. It needs to sit up next to the MBP so that you can naturally slide the mouse cursor over. It could stack up on some books, but most covers don't offer a lot of angle adjustment so if having two things side-by-side at different angles bothers you then you will be adjusting your MBP to match. But if using the camera it is the MBP whose screen must choose the angle, too bad if the iPad stand can't match that. Making the stand angle adjustable would be best. An iPad is pretty heavy though so a simple pivot wouldn't hold it in place.
Pivot
I settled on using two ends for the stand as with the MBP, connected with pieces of the same water pipe. The base has two lower holes that accept water pipe, and an upper hole that is somewhat larger. Into that larger hole snaps the arm that supports the iPad. Once pipe is inserted in this pivot the arm can't work itself loose.
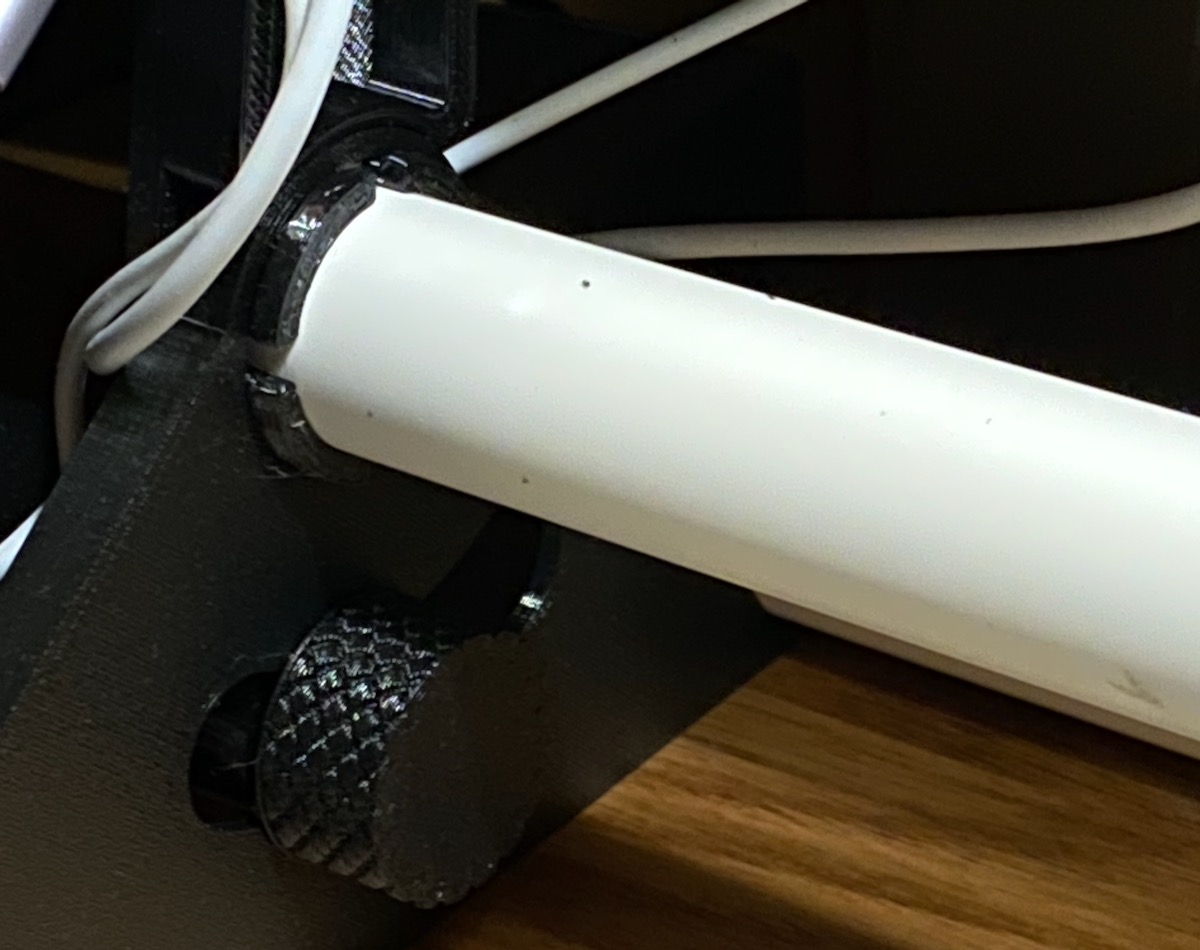
The lower end of the arm has a M10x1.5 thread into which fits a matching 3D printed bolt that can be tightened to clamp through a groove in the stand base. Thus the arms can be fixed at any angle over the range of allowed movement. This picture also shows the groove into which the iPad slides. I keep mine in the Apple Keyboard Case, which sets the required width of the groove in this part.
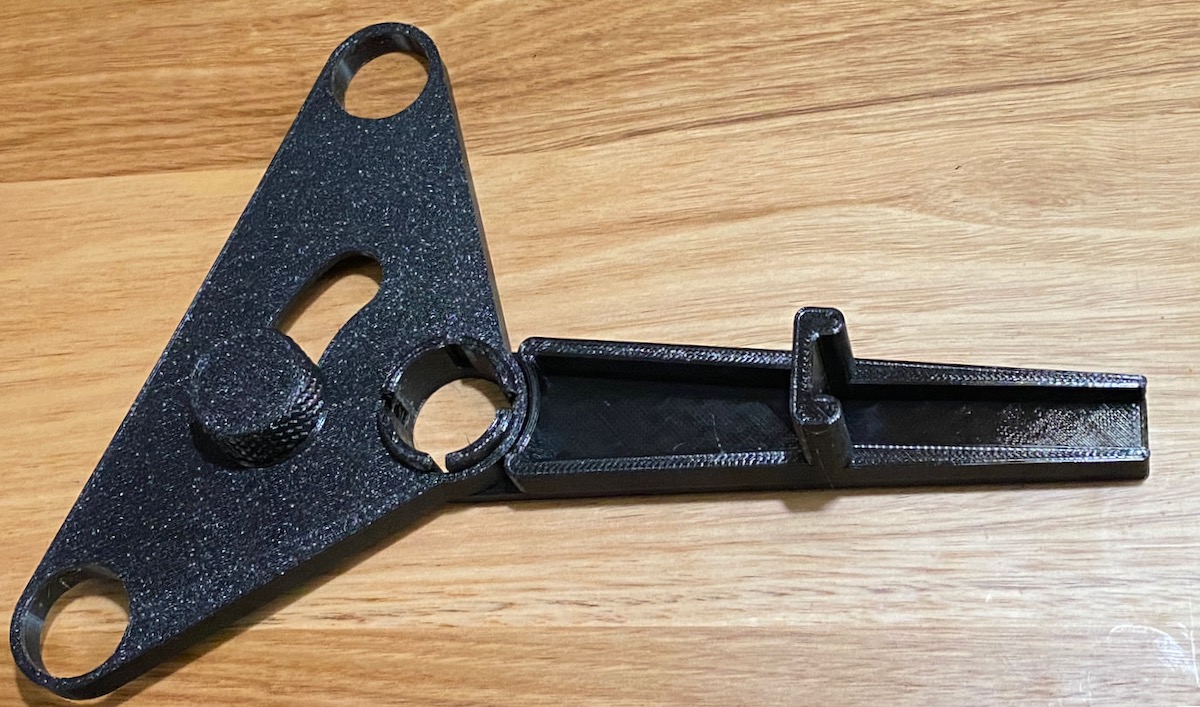
Another reason for making the arms and base separate components is that they are approaching the maximum print size of my Prusa printer. At this size it's a fairly lengthy print, using a 0.6mm nozzle at .30mm layer height takes around three hours (and the base parts take even longer). As resolution increases, printed threads become more usable right off the printer but in this case it was fine to print it rough, minimizing print time, and then I used a tap and die to improve the modelled threads in the arm and printed bolt to be as smooth as I could want.

I'm very happy with the finished stands. There is always something to make better but since we're now talking about relaxing things a bit and possibly going back to the office in a month or two, I can live with it like this.
Cheap tools
This 40-piece set cost less than $70 - I don't think I will ever use it on anything harder than plastic, so it will do.
